You’ve bought your turkey, prepared the brine, and made a game plan for how it’ll be cooked—baked or roasted, that part is up to you. When all’s said and done, the fundamental basics are (relatively) easy to plan but, there is one detail that is often overlooked: the practice of tucking in the turkey legs. You know, the step all the chefs on TV seamlessly complete—tucking and tying in one no-fail swoop. Turns out, the secret to the best-tasting bird is giving it attention before it heads to the oven. So we turned to culinary consultant Rick Rodgers, to get the scoop on making the most of your turkey prep.
It may sound tricky and maybe even a little odd. Tucking the wings will make it much easier to handle the bird and gives you a picture–perfect centerpiece for your Thanksgiving dinner.
Before you begin, make sure that the inside of the turkey has been thoroughly cleaned out and rinsed. If you’ll be adding stuffing or any accoutrements to the bird, now’s the time. Once that is complete, you’re ready to prep the bird for the oven. To tuck the wings, simply take a loop of kitchen string or twine and tie the wings to the side. Unwaxed plain dental floss will also work in a pinch!
If the wings are too short to be tied, Rodgers suggests tucking the wing tips into the shoulders of the bird. This allows for a more even cooking and prevents the wings from burning.
Tucking the wings of a turkey before roasting or smoking is a simple but important technique that can help you achieve optimal results, Properly tucked wings prevent the thin wing tips from overcooking and burning It also promotes even cooking throughout the turkey
In this comprehensive guide, we’ll explain why you should tuck the wings, provide a step-by-step tutorial, and answer some frequently asked questions about this process
Why Tuck The Wings?
Turkey wings are small and bony, with little meat on them. Since they protrude from the sides of the bird, they are exposed to direct heat during roasting or smoking. This makes them prone to overcooking and burning long before the rest of the turkey is done.
Burnt, leathery wings negatively impact the appearance, texture, and taste of the entire turkey. Tucking the wings under the body helps shield them from the intense heat. This allows them to cook more slowly along with the breast, thighs, and drumsticks.
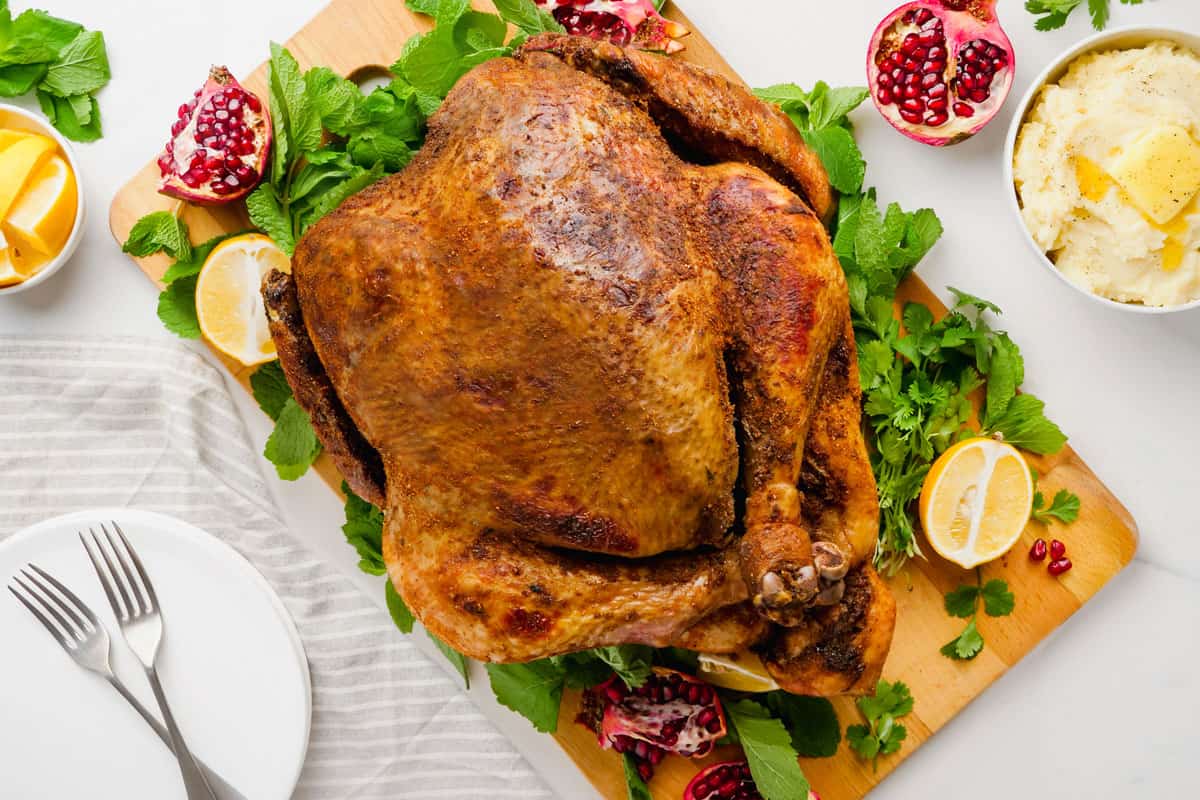
Tucked wings also give the turkey a tidy, uniform shape for a prettier presentation. Trussing keeps the wings in place, further preventing any scorching.
Step-By-Step Instructions
Tucking the wings is simple to do. With a little practice, you’ll be able to complete the process in just a minute or two.
Supplies Needed
- Whole thawed turkey
- Kitchen twine
- Roasting pan or rack
Directions
-
Remove the giblets from the turkey cavities. Rinse the bird inside and out, then pat dry with paper towels.
-
Place the turkey breast-side up on a cutting board, roasting pan, or rack. Season the outside all over with salt, pepper, herbs, oil, and any other rub ingredients.
-
Lifting up slightly on one side of the turkey, use your other hand to gently tuck the wing underneath the bird so it lays flat against the back.
-
Rotate the turkey and repeat the process on the other side. Check to ensure both wings are tucked securely.
-
Truss the turkey by tying the legs together with kitchen twine. Make sure it’s tied snugly so the wings stay tucked when moved.
-
Roast or smoke the turkey according to your recipe instructions until the thickest part of the breast and thighs reach 165°F.
-
Allow the turkey to rest for 15-20 minutes before carving to allow juices to redistribute. Dig in and enjoy juicy, evenly cooked meat!
Frequently Asked Questions
Should I remove the plastic leg holder?
Most store-bought turkeys come with a plastic “hock lock” holding the legs together. This nylon device is heat-resistant, so it’s safe to leave it on while cooking. Removing it makes trussing a bit easier though.
Does the turkey cook better breast-side up or down?
Cooking breast-side up helps crisp the skin, lets you add stuffing, and allows basting. But for very large birds, starting breast-down and flipping halfway through can prevent overcooking. When smoking, keep the breast meat facing away from direct heat.
What’s the minimum safe internal temperature?
Cook until the breast reaches 165°F to eliminate bacteria. For optimal texture, the dark meat should reach 180-185°F. If the white meat is almost done first, tent it with foil.
Can I tuck the wings on other poultry?
Yes, the same method works well for duck, goose, chicken, and other birds. Tucking helps prevent overcooked, dried out wing sections.
What if I don’t have kitchen twine?
In a pinch, use unwaxed unflavored dental floss to truss the turkey. But try to have twine on hand, as it works much better.
Get Perfectly Cooked Turkey Every Time
Following these simple steps for tucked wings helps ensure your holiday bird looks beautiful and tastes delicious from edge to edge. Crisp browned skin with juicy, tender meat throughout is easy to achieve when you shield those slender wings from burning.
Let us know if you have any other turkey prep questions! We hope your guests will rave about your wonderfully roasted Thanksgiving or Christmas turkey.