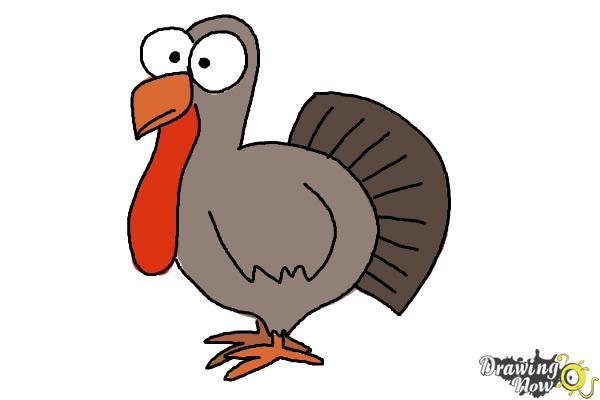
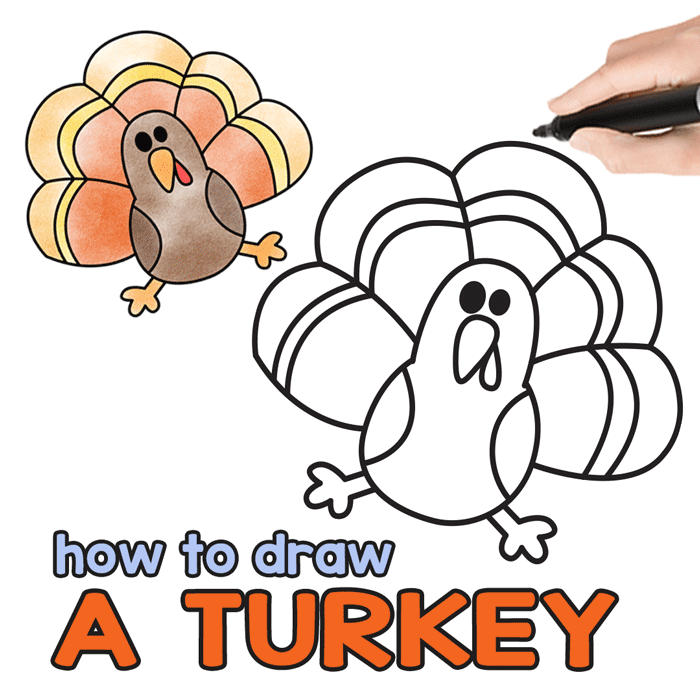
Learn How to Draw a Turkey with our Step by Step Turkey Drawing instructions. If you are a teacher and want to do a Thanksgiving project with your kids, why not teach them this? Perfect for beginners too!
Fall is not only time of leaves changing colors, it’s also the time of turkeys (well they are here all year round, just a bit more popular this time of the year).
Drawing a simple turkey is an easy and fun fall craft for kids and beginners. With just a few basic shapes, you can create a cute turkey in no time! In this step-by-step tutorial, I’ll show you how to draw an easy cartoon turkey.
Supplies You’ll Need
- Paper
- Pencil
- Eraser
- Coloring supplies (markers, crayons, colored pencils)
That’s it! The great thing about learning how to draw a simple turkey is you don’t need any fancy art supplies.
Step 1: Draw the Body
Let’s start with the body. Draw a large oval shape near the center of the paper. Don’t worry about it being perfect, we’ll add details later.
Step 2: Add the Head
Now draw a smaller oval shape above the body overlapping slightly. This will be the turkey’s head.
Step 3: Draw the Neck
Connect the head and body with two short, parallel lines to form the neck
Step 4: Add the Beak
On the lower part of the head, draw a short triangle for the beak.
Step 5: Draw the Legs
On the lower part of the body, draw two lines for the legs. Place one on each side.
Step 6: Add the Feet
At the end of each leg, draw a sideways V shape for the feet.
Step 7: Draw the Eyes
On the head, draw two small circles for the eyes. Place them above the beak. Add a small dot in each eye.
Step 8: Draw the Wattle
Under the beak, draw a teardrop shape for the wattle. This is the red flap of skin that hangs from the turkey’s neck.
Step 9: Add the Tail Feathers
On the back of the body, draw a fan shape for the tail feathers. Start with a point near the body and draw lines fanning outward.
Step 10: Draw the Wings
On each side of the body, draw a flattened U shape for the wings.
Step 11: Add Details to the Head
Draw a small oval on the forehead for the comb. Add some bumps on top of the head for feathers.
Step 12: Add Details to the Tail
Draw some lines on the tail feathers to show details. Add different shapes and sizes.
Step 13: Color Your Turkey
Use crayons, colored pencils, markers or paint to color your turkey. Here are some suggestions:
- Body – brown
- Head and wattle – red
- Beak and feet – yellow
- Tail feathers – brown, black, white
- Eyes – black
Get creative with the colors! The great thing about drawing a simple turkey is you can decorate it however you want.
And there you have it – a cute cartoon turkey! With just simple shapes and a few details, you can make this fun fall drawing. It’s perfect for young kids to practice basic art skills. And it makes a great Thanksgiving craft too.
Now that you know how to draw a simple turkey, you can make a whole flock! Just repeat the steps and draw more turkeys. You can make them different sizes and colors too. Display your turkeys on the fridge or use them to decorate for Thanksgiving.
Here are some tips for drawing your best simple turkey:
Start with Light Lines
Use light pencil lines early on so you can easily erase and make changes. Darken your lines at the end when you’re sure of the shape and placement.
Leave Space Between Parts
Don’t overlap the body, head, and other elements too much. Leave a little space between so you can see the different shapes.
Draw Lightly at First
Start by sketching lightly. You don’t need to press hard with your pencil. Once you have the shapes down, you can trace over in darker lines.
Use an Eraser to Fix Mistakes
Don’t worry about making mistakes! Just use your eraser to remove any lines you don’t want. The great thing about pencils is that errors can be erased.
Take Your Time
Drawing does take patience and practice. Go slowly and pay attention to each step. Rushing through can lead to mistakes.
I hope you enjoyed learning how to draw a simple turkey! What will you draw next? You can find more easy drawing tutorials on my blog. Happy crafting!

How to Draw a Turkey

What you need:
- one of our turkey guided drawing printables that you can grab from our members area (optional)
- paper
- pencil or marker
- coloring supplies
Step by Step Easy Turkey Drawing Tutorial

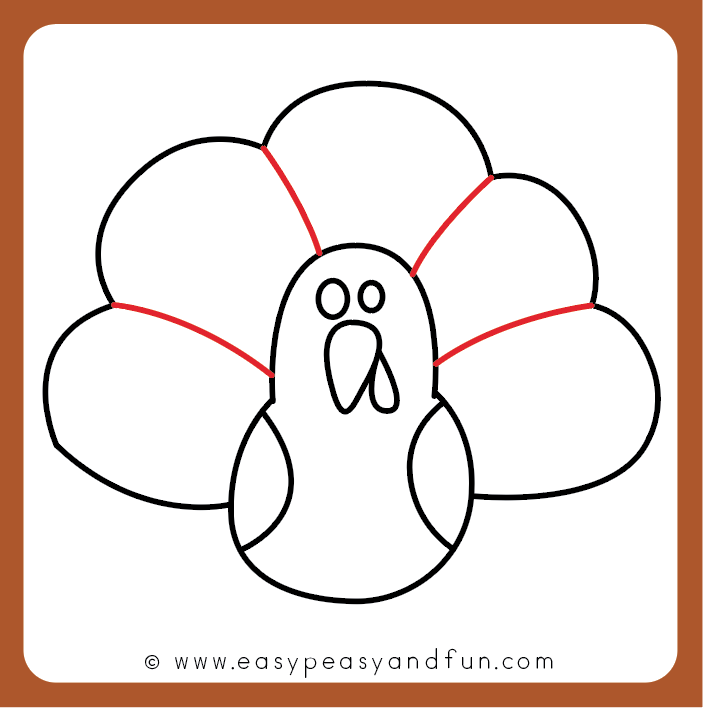
Start by drawing a inverted U :). This will be the head of the turkey.
Continue with the round shape under the head, this will make the body of your turkey.
You should be seeing a somewhat nice pear shape.

Draw eyes and beak (with details). Also draw two round shapes for the wings.

Time to start drawing those magnificent tail feathers. Start by drawing a curve on the left side and on the right.

Connect the ends with a few arches (5 is ideal).

Draw a line from the “bottom” of the arch to the turkey body.

Next come the arches under the arches. Let’s draw those details on the tail feathers.

And another row under it.

Lastly, draw some turkey feet.

All done! You have learned how to draw an turkey. It was easy wasn’t it!
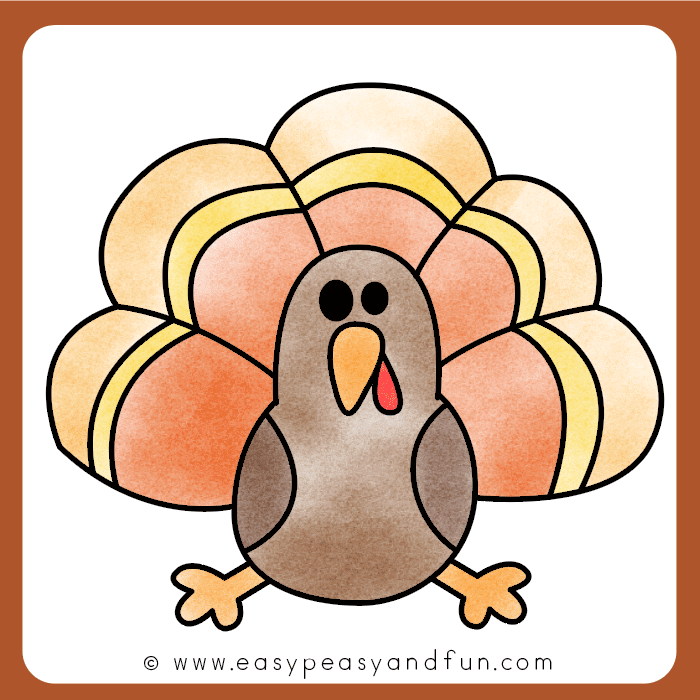
Color your turkey drawing.

How to Draw Turkey Step by Step for Kids Easy
How to draw a Turkey?
To draw one, start by drawing a roundish shape with a small sharp beak. Step 2: Add a small squiggly to add feathers at the end of its beak, and a circle for the eye. Step 3: At the base of the head, draw a line going back for the turkey’s back. Then, draw a squiggling line downwards on the other side to make the chest and belly.
How do you make a hand Turkey?
Here are step-by-step instructions to making the best hand turkeys. Gobble, gobble! Firmly place one hand, palm down and fingers spread apart, on the sheet of white computer paper. Starting on one side of your wrist, trace with the black crayon or pencil around your hand until you reach the other side of your wrist.
How do I choose the best Thanksgiving art?
Cooked Turkey – cooked turkeys are common Thanksgiving art, but many artists neglect drawing them as the feature piece. Abstract Turkey – this type of turkey is colorful with a flare to it that lets you see a piece of the artist. Choose the style that suits you best – if you can’t put your heart into the art, choose something else.
