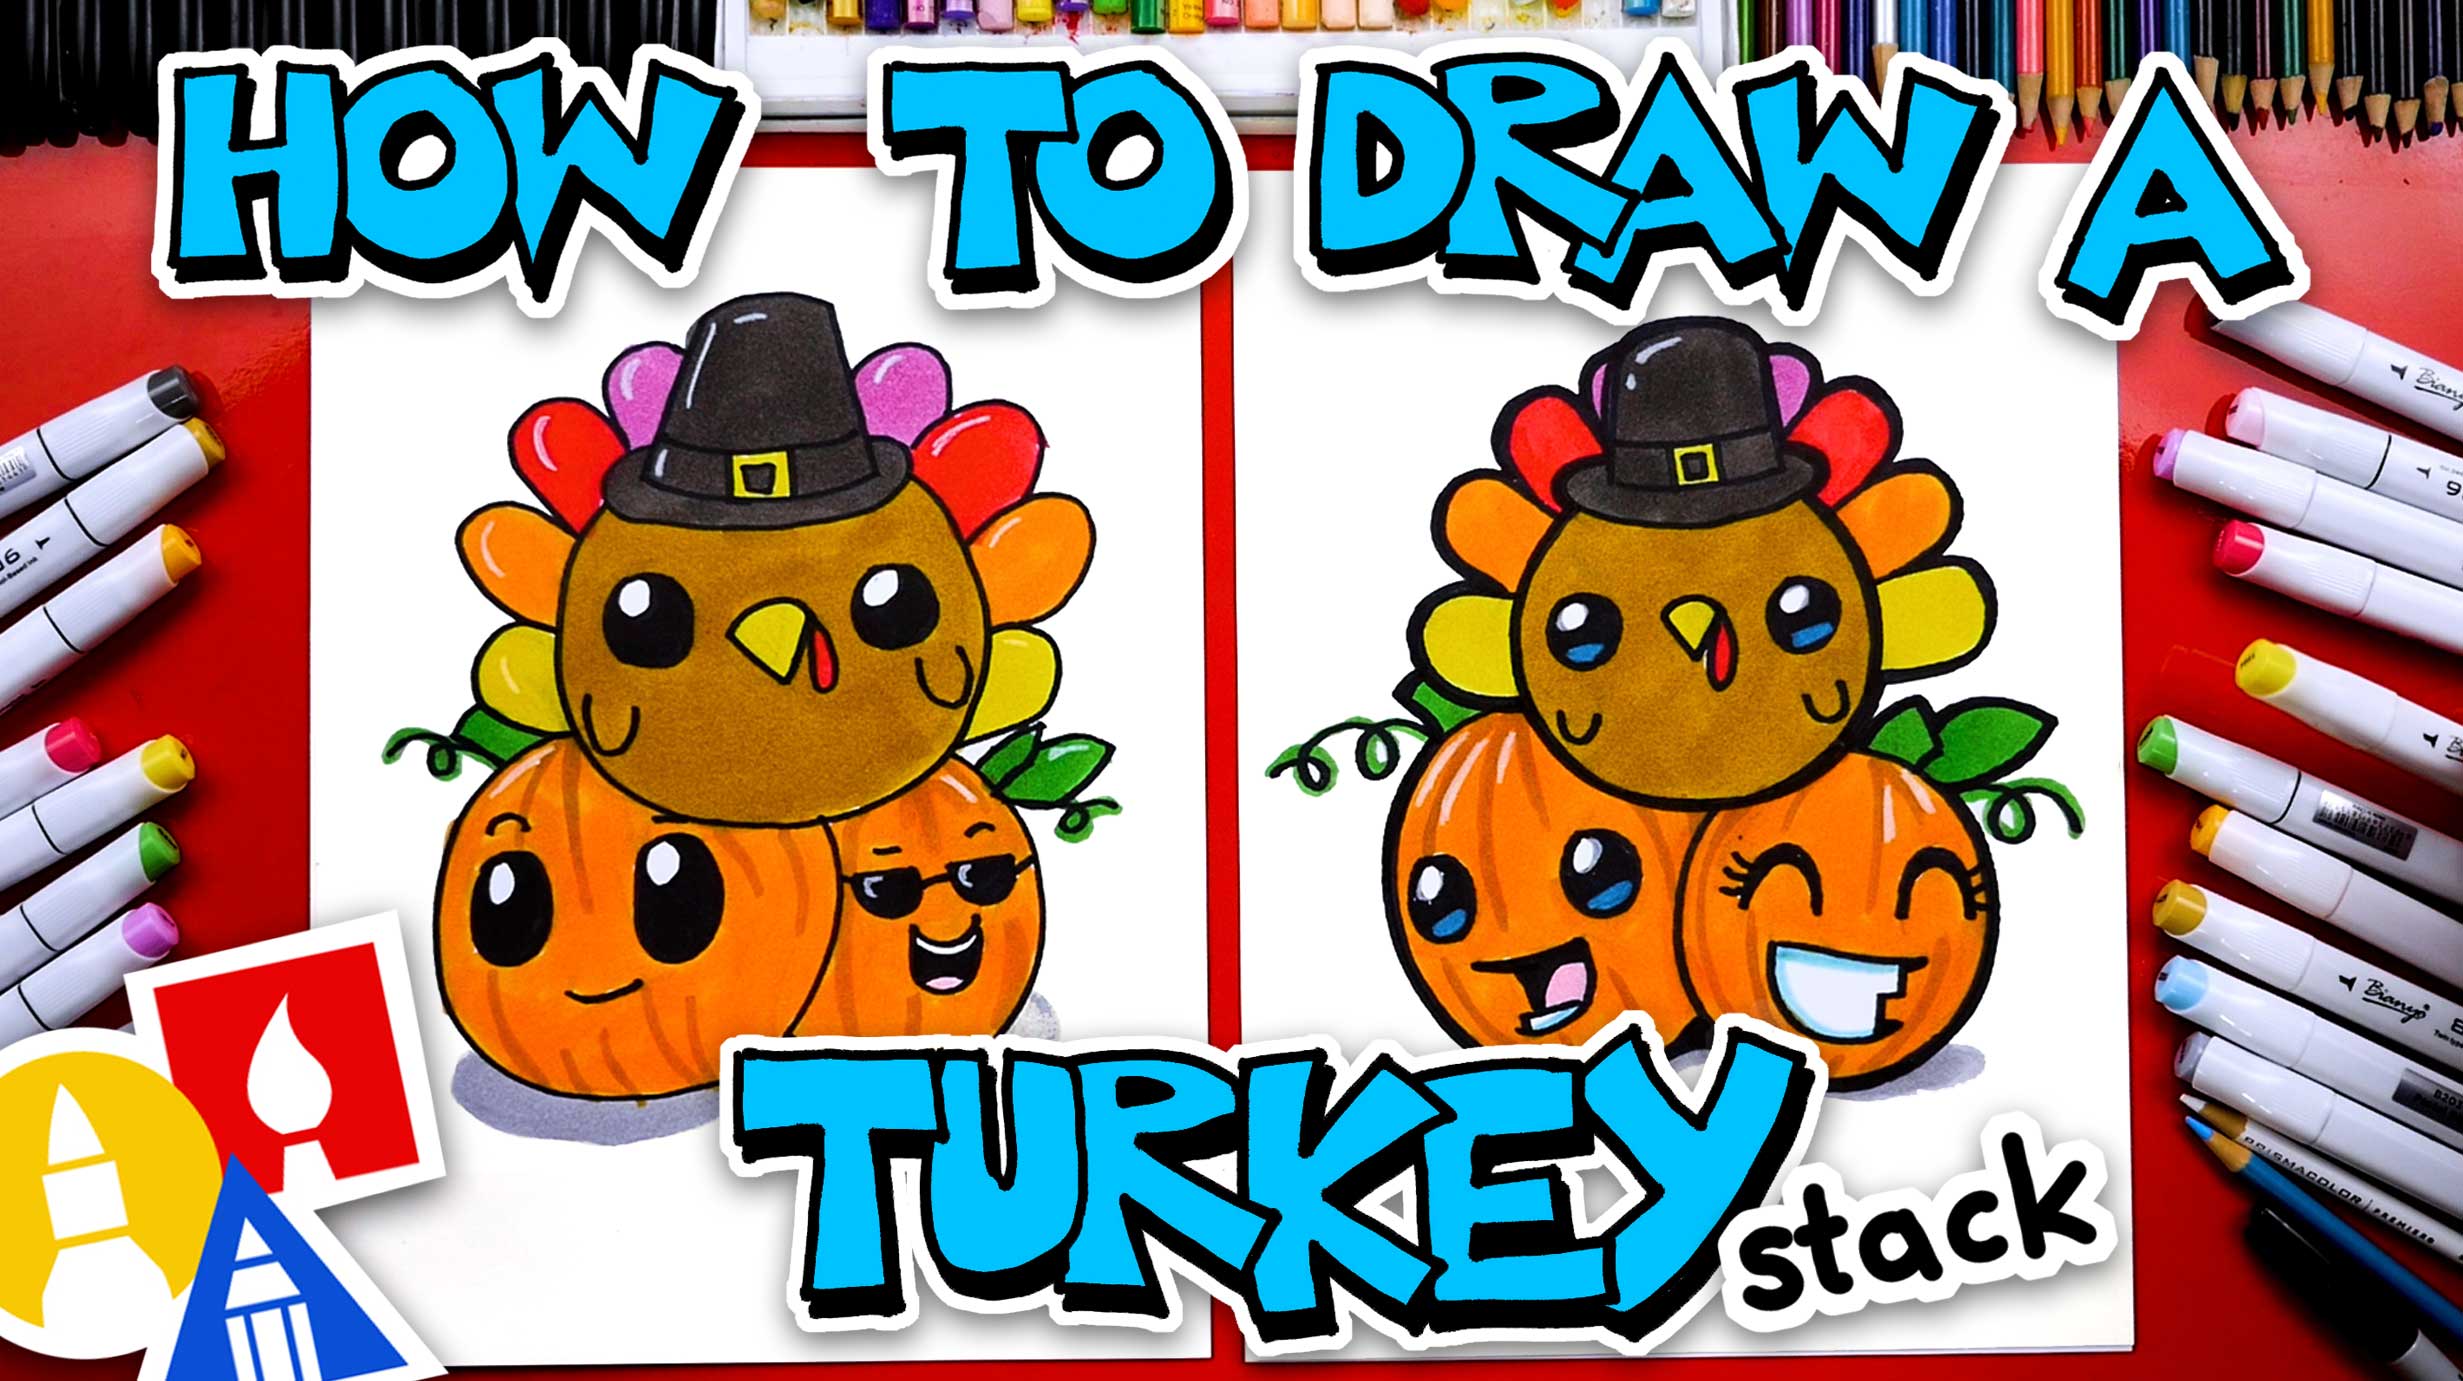
Follow this step-by-step tutorial and learn how to draw a cute turkey for Thanksgiving. Use markers, colored pencils or watercolors to complete your finished turkey. These would make adorable place cards on a Thanksgiving table or cute decoration to attach to Thanksgiving hostess gifts.
If you’ve never drawn a turkey before, it’s actually really easy. These step by step drawing instructions are easy enough for kids to do! But it’s also a great design for adults to learn too, especially if you want to add some handmade doodles to your Thanksgiving decorating.
You can also follow the second tutorial on this post to find out how to turn your turkey into a beautiful watercolor painting. It’s so easy!
Drawing a turkey is a fun Thanksgiving tradition. With simple shapes and some creativity, you can create a cute cartoon turkey drawing for kids to decorate or use as a holiday craft. Here is a step-by-step guide to drawing an easy turkey for Thanksgiving.
Supplies Needed
To draw a turkey you just need a few basic art supplies:
-
Paper – Construction paper drawing paper or cardstock work well. White and brown give a turkey look.
-
Pencil
-
Eraser
-
Crayons, colored pencils or markers
-
Black marker for outlines
Step 1 – Draw the Body
Start with a large upside down pear shape for the turkey’s body. Make it fat and round.
Step 2 – Add the Head
On the narrow end of the pear, draw a circle for the turkey’s head. Size it about 1/4 the width of the body.
Step 3 – Draw the Legs
On the bottom of the wider body section, sketch two small circles for the feet. Connect each circle to the body with lines for the legs.
Step 4 – Draw the Neck
Attached the head to the body with a slightly curved line for the neck.
Step 5 – Draw the Beak
On the head, make a short upside down triangle for the beak. Draw it near the bottom with the wide base along the face.
Step 6 – Add the Wattle
Under the beak, draw a teardrop shaped wattle hanging from the neck.
Step 7 – Sketch the Tail
On the back of the body, draw a fan shaped tail with long feather lines.
Step 8 – Add the Wings
On each side, draw a small half circle tilted up to form the wing shape.
Step 9 – Draw the Eyes
Make two small circles for eyes. Position them above the beak and wattle. Add a dot inside each eye.
Step 10 – Outline in Black
Go over all the pencil lines with a black marker to make them stand out. Erase any sketch lines still showing.
Step 11 – Color the Turkey
Use crayons, colored pencils or markers to color your turkey drawing. Make the body brown, tail and wings green, yellow, red and brown. The head can be red or pink. Get creative with colors and patterns!
Extra Decorating Ideas
Personalize your turkey drawing with details like:
-
Feathers on the body
-
Red snood hanging from the beak
-
Fancy colors and designs on the tail
-
Spots or stripes
-
Little pilgrim hat
-
Fall leaves
-
“Thanksgiving” lettering
Use your imagination to make your turkey unique. Add fun decorations to turn your basic cartoon turkey into a festive art project for Thanksgiving. With simple shapes and cute details, you can easily draw a turkey of your very own.
Frequency of Entities:
turkey: 14
body: 7
head: 5
tail: 4
wing: 4
draw: 4
thanksgiving: 4
beak: 3
neck: 3
leg: 3
circle: 3
eye: 2
shape: 2
line: 2
wattle: 2
color: 2
feather: 2
brown: 2
pencil: 2
paper: 1
eraser: 1
crayon: 1
marker: 1
craft: 1
pear: 1
fat: 1
round: 1
foot: 1
curved: 1
triangle: 1
tear: 1
fan: 1
half: 1
dot: 1
outline: 1
black: 1
sketch: 1
create: 1
decorate: 1
red: 1
pink: 1
green: 1
yellow: 1
pattern: 1
detail: 1
snood: 1
hat: 1
leaf: 1
lettering: 1
imagination: 1
unique: 1
art: 1
project: 1
festive: 1
simple: 1

Step by Step Instructions To Learn How to Draw a Cute Turkey
Draw the basic turkey shape.
Add your turkey’s face.
Add details to the body and wings.
Add details to the feathers.
