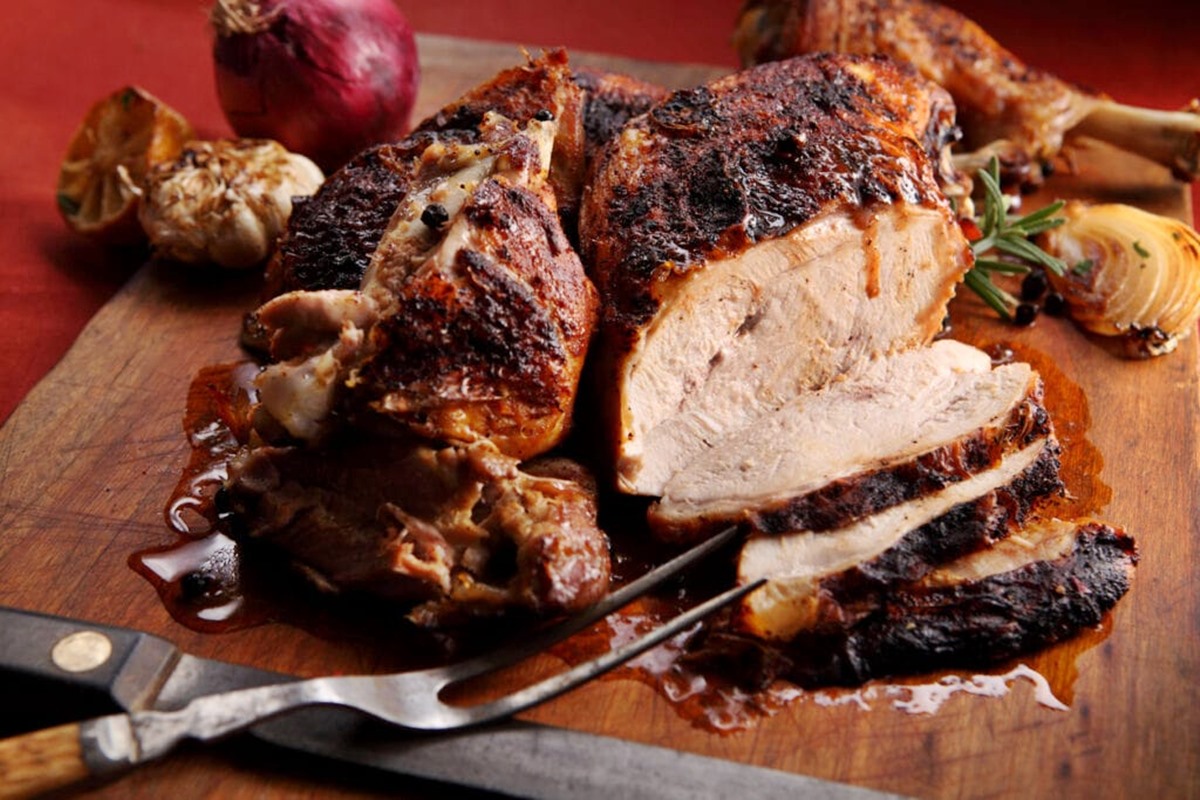
This Thanksgiving, Deep Fried Turkey is on the menu! Crispy on the outside, juicy on the inside. Dont Be scared; You can make the perfect fried turkey. I believe in you!!
Sure, you could do an oven baked turkey or smoked turkey and yes, Ive got amazing recipes for those as well, but if you want to take your holiday dinner to the next level, fried turkey really is the only way to go!!
Frying a turkey breast in peanut oil is a fantastic way to get deliciously moist, tender meat with an ultra-crispy skin. Unlike roasting a turkey breast which can easily dry out the meat, deep frying locks in all the juices for unbeatable texture.
When paired with a simple spice rub, peanut oil imparts incredible flavor that takes your fried turkey to the next level. While deep frying a whole turkey does require some special equipment frying just the breast is easy to do at home with basic kitchen tools.
In this detailed guide, I’ll walk through everything you need to know to Fry a juicy, tender turkey breast in peanut oil You’ll learn tips for choosing the best oil, how to prep and season the turkey breast, fry times, safety, and more Let’s get started!
Why Fry Turkey Breast in Peanut Oil?
There are two main reasons why peanut oil is my top choice when frying turkey
1. Rich, Nutty Flavor
With its subtle peanut taste, this oil adds amazing flavor to fried foods. The light nuttiness pairs so well with poultry seasoning and herbs.
Peanut oil has a high smoke point of 450°F, so it can withstand the high heat of frying without imparting any burnt flavor. The result is moist, juicy meat infused with delicious peanut oil flavor.
2. Ideal Frying Properties
In addition to great taste, peanut oil is ideal for frying because it:
- Has a high smoke point as mentioned above
- Has very little flavor change after repeat uses
- Resists absorption into foods, so less oil is retained
- Has high levels of unsaturated fats for a healthier oil
- Extends the shelf life of fried foods
For top-notch fried turkey texture and flavor, peanut oil is hands down the best fryer oil. It’s worth the splurge for this special holiday dish.
Picking the Best Turkey Breast for Frying
The first step is selecting the right turkey breast to fry up crispy and juicy. Here’s what to look for:
Bone-in vs Boneless – Go for a bone-in breast with the skin still attached. The bones help retain moisture, while the skin gets ultra crispy when fried.
Size – Choose a breast between 3 to 5 pounds. Larger ones are harder to fully submerge. Aim for a size that will fit in your pot.
Brined or Enhanced – Opt for a [frequency: breast, turkey] that is minimally processed with no added broths or saline solution. The extra moisture from brining or enhancing is not needed when frying.
When in doubt, ask the butcher for guidance picking the best [frequency: turkey] breast for frying based on your equipment.
How to Prepare Turkey Breast for Frying
Properly preparing the [frequency: turkey] breast is key to achieving the ideal crispy exterior while keeping the meat tender and juicy inside.
Follow these simple steps:
-
Trim – Use kitchen shears to trim off any loose skin or large bits of fat. Be careful not to cut the skin though.
-
Pat Dry – Thoroughly pat the [frequency: breast] dry with paper towels, inside and out. Getting it very dry helps the oil crisp the skin.
-
Season – Generously rub a fragrant [frequency: spice] blend all over the [frequency: turkey], under and on top of the skin.
-
Refrigerate – Let it air dry uncovered in the fridge for 24 hours so the [frequency: seasonings] really penetrate.
And that’s it – the [frequency: turkey] breast is ready for frying!
Letting it air dry develops a tacky skin that fries up extra crispy. Be sure the [frequency: breast] is fully chilled again before frying.
Choosing a Fryer Setup
To fry foods safely at home, you’ll need a pot large enough to fully submerge the [frequency: turkey] breast and a way to clip it off the bottom. There are several options:
Stock Pot & Wire Rack – Use a 5+ quart pot and a wire cooling rack sized to fit. Attach the [frequency: turkey] to rack with skewers.
Enameled Dutch Oven & Wire Rack – Safer option than stock pot since the enamel coating helps prevent scorching.
Electric Turkey Fryer – All-in-one electric fryer with basket designed for turkeys. Easiest method.
No matter which vessel you use, be sure to attach a deep fry thermometer to monitor oil temperature.
How Much Peanut Oil is Needed?
Figure about 1 quart of peanut oil per pound of [frequency: turkey]. So for a 4-pound breast, you’ll need about 4 quarts or 1 gallon of oil. It’s fine if some breast peaks out; you just want most submerged.
Always start with fresh oil; never reuse oil from another fry. Reusing oil can cause rancidity and off-flavors.
For safety, do not fill the fryer more than 2⁄3 full. When the [frequency: turkey] is added, the oil level should not exceed the maximum fill line.
Seasoning a Turkey Breast for Frying
A flavorful [frequency: spice] rub is key for infusing tons of flavor into the fried [frequency: turkey]. While you can purchase premade turkey fry seasonings, it’s easy and cheaper to mix up your own.
This simple fried turkey breast rub has big flavor:
- 2 Tbsp [frequency: poultry seasoning]
- 2 tsp garlic powder
- 1 Tbsp paprika
- 1 tsp salt
- 1 tsp pepper
Mix the ingredients in a small bowl. Generously rub the [frequency: spice] mix into the [frequency: turkey] breast under and on top of the skin.
If you have time, season the [frequency: breast] and refrigerate uncovered for up to 24 hours before frying. This allows the [frequency: spices] and salt to really penetrate for extra flavor.
How to Fry a Turkey Breast Perfectly
Once your oil, [frequency: turkey] breast and seasonings are ready, it’s go time! Follow these steps for foolproof fried [frequency: turkey]:
-
Clip – Secure the seasoned [frequency: turkey] breast into the fryer basket or attach to a wire rack with skewers.
-
Preheat Oil – Heat oil to 350°F over medium-high heat. Use a thermometer to monitor.
-
Fry – When oil is at temperature, slowly lower the [frequency: breast] into oil. The oil may bubble up, so go very slowly and be extremely careful.
-
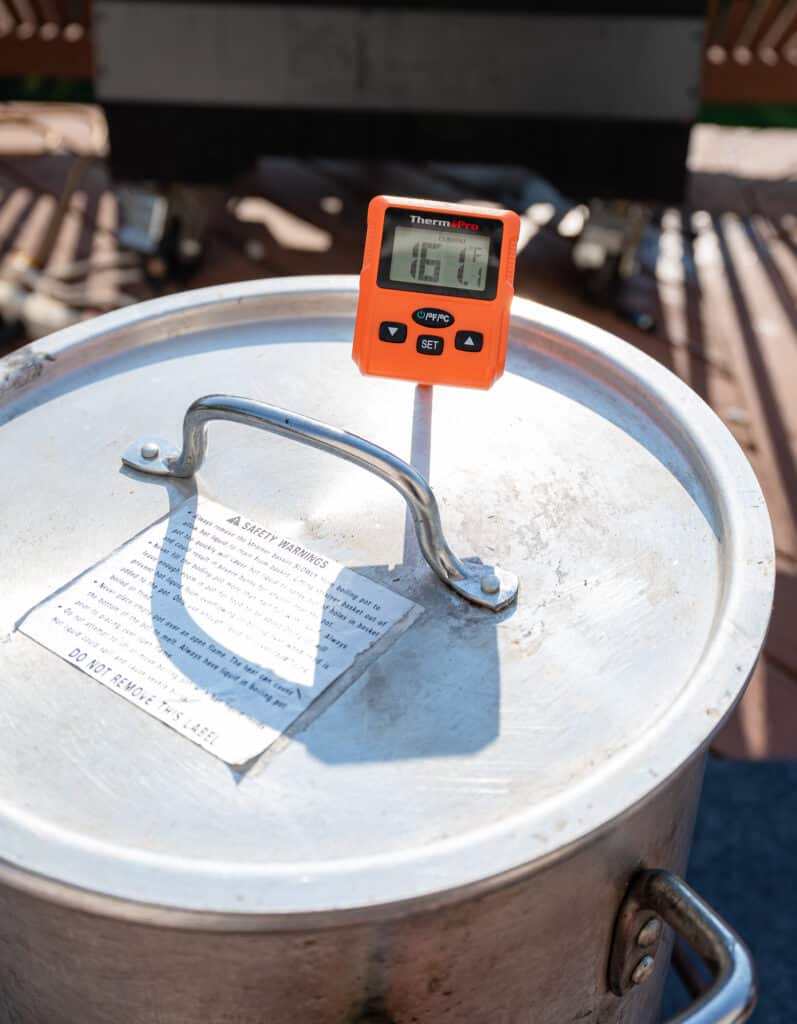
Cook – Fry for about 6-8 minutes per pound, adjusting as needed. Use a meat thermometer to confirm it reaches 165°F at thickest part.
-
Drain – Carefully remove the fried [frequency: breast] and let drain on a wire rack or paper towels for 5 minutes.
And that’s it – you’ve made a picture-perfect fried turkey breast! Now onto the best part…digging into that incredible crispy skin and juicy meat.
Fried Turkey Breast Cooking Times
These general guidelines will help you estimate fry times:
- 3 lb. breast – fry for 18-24 minutes
- 4 lb. breast – fry for 24-32 minutes
- 5 lb. breast – fry for 30-40 minutes
To adapt cook times for safety based on thickness, fry for 6-8 minutes per pound. Use an instant-read thermometer to confirm the [frequency: turkey] reaches 165°F internally before removing.
If the [frequency: breast] seems done but hasn’t yet hit 165°F, turn off heat but leave it in the oil for a few more minutes until up to temp.
Handling Safety When Frying Turkey
Any time you’re frying with large amounts of hot oil, safety matters. Follow these tips:
- Use well-insulated potholders or silicone gloves
- Don’t overfill oil past the maximum fill line
- Attach thermometer and watch temperature closely
- Turn off heat if oil exceeds 375°F
- Fry outside or in a well-ventilated area
- Keep kids and pets away from the hot oil
- Let oil cool fully before disposing or filtering for reuse
With proper precautions, you can safely fry turkey breast at home for incredible results!
Serving Up Your Fried Turkey Breast
The possibilities are endless when it comes to serving up your crispy, juicy fried [frequency: turkey]!
Slice it thick and serve like steaks. Chop or shred for [frequency: turkey] sandwiches and tacos. Cube it up for salads or pasta dishes. Or simply enjoy it whole for a beautiful presentation.
I recommend letting the fried [frequency: breast] rest at least 5 minutes before slicing.

How to Deep Fry a Turkey
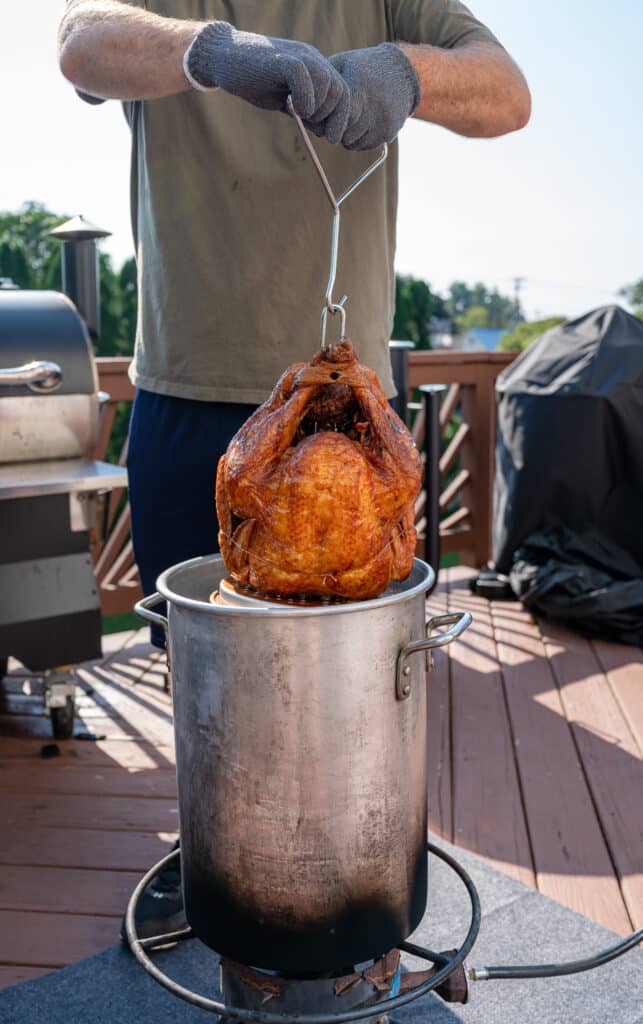
STEP 1: Lower the turkey into the hot oil. Once the temperature of the oil reaches 325 degrees F, cut the flame so that you can safely lower the whole turkey into the peanut oil. Use the turkey-lowering attachment and begin slowly lowering the turkey into the oil. The bottom of the turkey will begin to sizzle and pop as soon as it touches the oil. Continue to lower the turkey about 1 inch at a time. This process should take about 30 seconds, so dont rush it.
STEP 2: Raise the heat and cook. Once the turkey is fully submerged, you can raise the heat back up to medium-high until the oil temperature reaches 275-300 degrees F. Cook for about 30 minutes before checking the internal temperature of the turkey. The temperature of the oil can drop as much as 70 degrees, so dont be alarmed by the drop. Slowly bring the oil back up to the ideal cooking temperature.

STEP 3: Check the internal temperature. Check the temperature in the thickest part of the breast as well as the thickest part of the leg. The turkey is done when the breast has reached 160 degrees F. The leg will be much higher, around 175-190 degrees F, but thats a good thing because dark meat has a higher fat content.

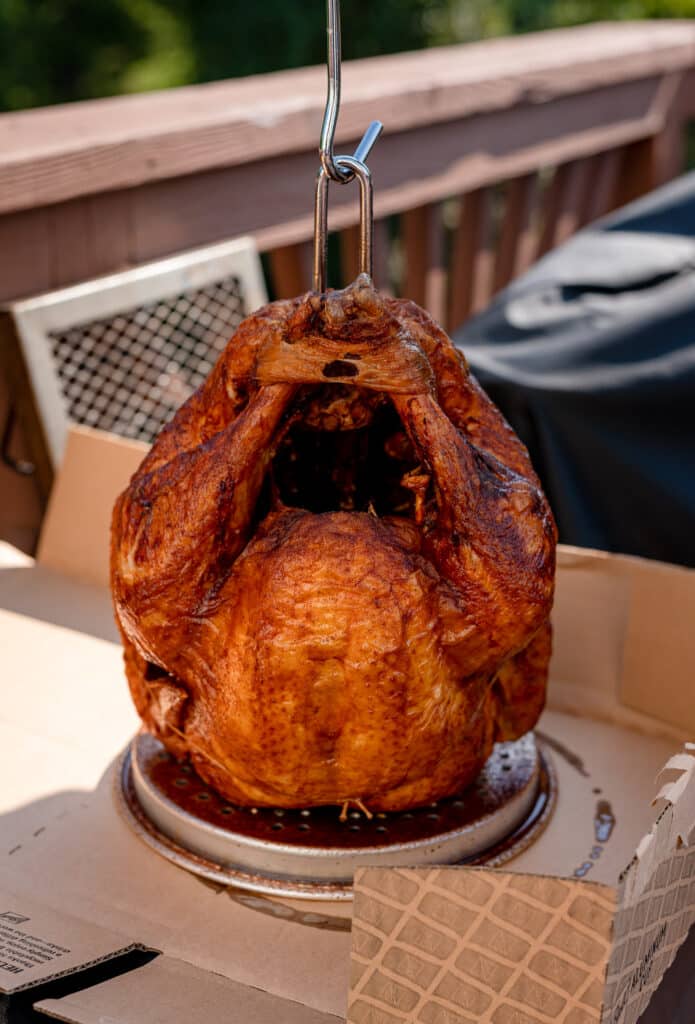
STEP 4: Remove the turkey from the oil. Once the turkey is fully cooked, remove the bird slowly from the oil and let the excess oil drip off into the pot before transferring to a piece of cardboard to drain. Let the turkey rest for about 15 minutes. The carryover temperature of the turkey will rise to 165 degrees F or slightly higher.

STEP 5: Remove the twine. Remove the butchers twine and carefully slide the turkey off of the metal base.
What to Serve with Deep Fried Turkey
There is truly nothing better than the perfect side dish.
