Thanksgiving is a time for gathering with family, reflecting on what we’re grateful for, and feasting on a hearty turkey dinner For many families, Thanksgiving also means decorating the home with autumnal and turkey-themed accents If you want to get creative this year, try making a colorful papier mâché turkey centerpiece for your holiday table! Read on to learn how to craft your own unique paper mache turkey.
Overview of Papier Mâché
Papier mâché is an easy and fun crafting technique that involves shaping a structure out of strips of paper soaked in adhesive. Any type of paper can be used, from newspaper to construction paper to tissue paper. The strips are dipped in a glue mixture, then layered on top of each other over a base form, such as a balloon.
As the papier mâché dries it becomes rigid enough to hold a shape. It can be painted or otherwise decorated. Papier mâché is lightweight inexpensive, and highly creative! Plus, it’s an activity kids can help with.
Benefits of a Papier Mâché Turkey Centerpiece
Making a 3D papier mâché turkey as the centerpiece for your Thanksgiving table provides a number of benefits:
- Adds a handmade, homemade feel to your holiday decor
- Allows for creativity and customization
- It’s an enjoyable activity for the whole family
- Provides a fun conversation piece during dinner
- Results in a unique decoration unlike store-bought items
- Can be made with recycled materials
- Is highly affordable compared to purchasing a centerpiece
Prepping Materials and Work Area
Papier mâché can get messy, so lay down some old newspaper or a plastic tablecloth to protect surfaces. Gather these supplies:
- Newspaper, tissue paper, or crepe streamers for the strips
- Flour and water for the adhesive
- A balloon or oval-shaped form for the base
- Acrylic paint in fall colors
- Various embellishments like feathers, glitter, etc.
- An old bowl and spoon for the adhesive
- Scissors and paintbrushes
- A work surface where the project can dry undisturbed
Making the Papier Mâché Paste
First, make your paste adhesive by mixing together:
- 1 part all-purpose flour
- 2 parts water
Whisk together in a bowl until smooth without clumps. Add more water as needed if the paste is too thick. Aim for an Elmer’s glue-like consistency. This homemade flour and water glue will dry hard and adhere the paper layers together tightly.
Shaping the Turkey Body
Blow up a standard round balloon to the desired size of your turkey body. Knot the end securely. Set the balloon in a bowl so it stays put.
Tear or cut strips of paper about 1-2 inches wide. Dip them one at a time into the paste, covering fully. Run the strip between your fingers to remove excess glue.
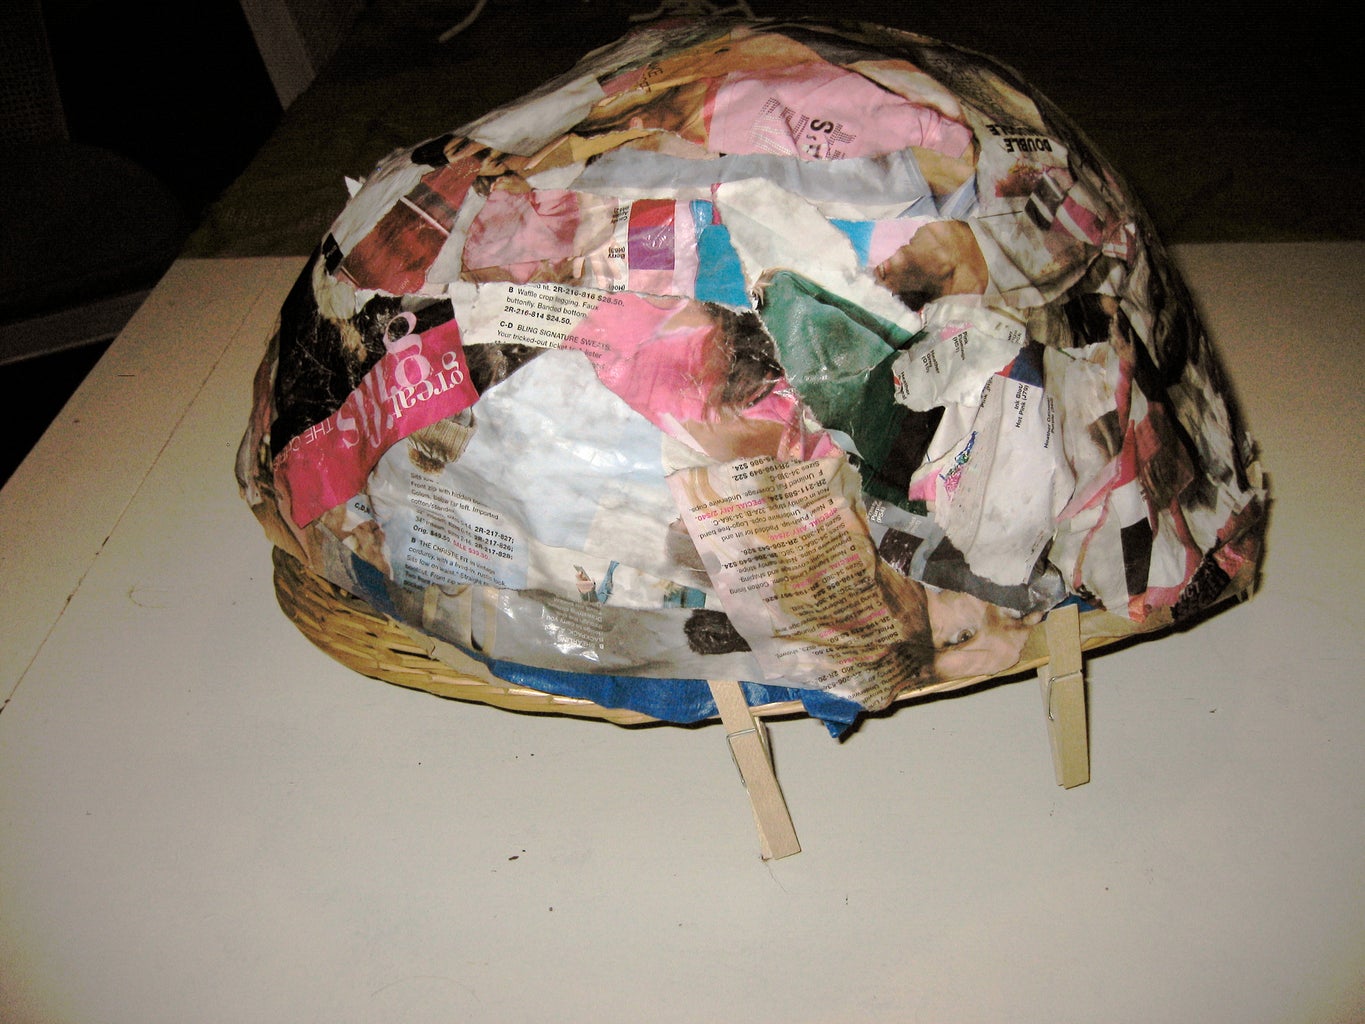
Smooth the strip around the balloon, continuing to add overlapping pieces until the balloon is covered in 2-3 papier mâché layers. Let dry fully overnight before continuing.
Creating the Head and Feathers
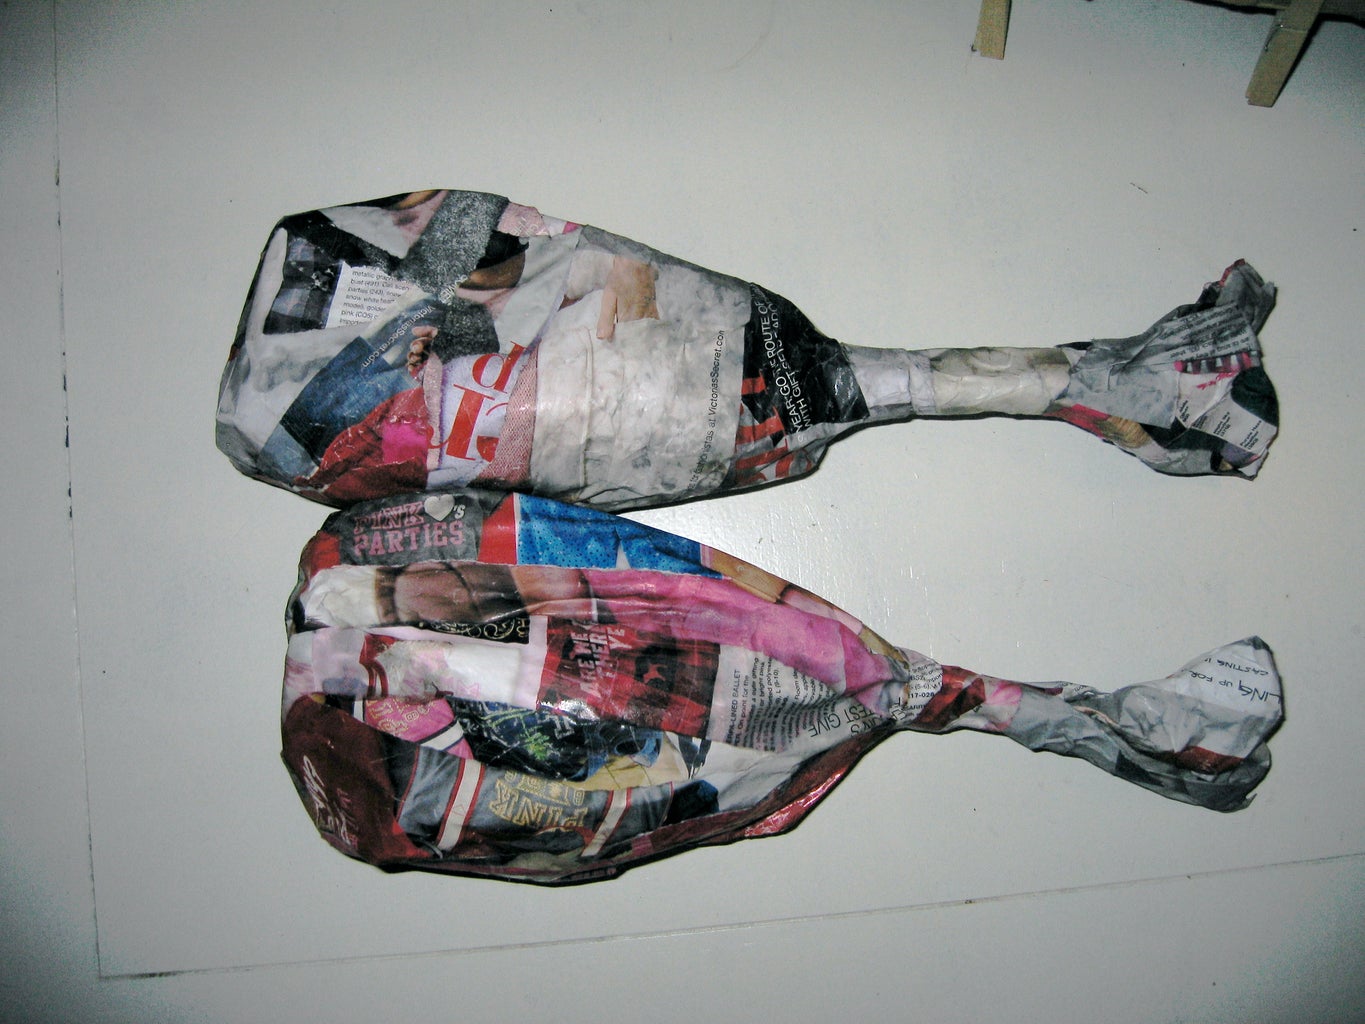
To form the turkey’s head, wad up pieces of paper into a ball a bit smaller than a tennis ball. Cover this form fully with papier mâché strips and let dry overnight.
For the feathers, cut leaf or feather shapes out of tissue paper. Apply bits of paste to the base of each feather using a paintbrush. Attach in layers around the body in a fanned pattern.
Use orange, red, yellow, green and brown colors for fall appeal. Let the feathers dry completely before moving the turkey.
Painting and Final Touches
Paint the fully dried head and body with acrylic paint in whatever colors you’d like. Add accents like googly eyes or a felt gobbler if desired. Consider writing things you’re thankful for onto the body to make it even more symbolic for Thanksgiving.
Pop the balloon through a small hole to remove it from the interior of the body. Fill the empty space with crumpled paper or stuffing to help the turkey maintain its shape. Allow to dry one final time before displaying.
Voila! You now have a custom papier mâché turkey showpiece for Thanksgiving dinner. Place it in the center of your holiday table for a handcrafted conversation piece that everyone will love. Your homemade turkey will become a new family tradition for years to come!
Fun Variations and Tips
-
Use fall colored tissue paper or crepe streamers for a more vibrant turkey.
-
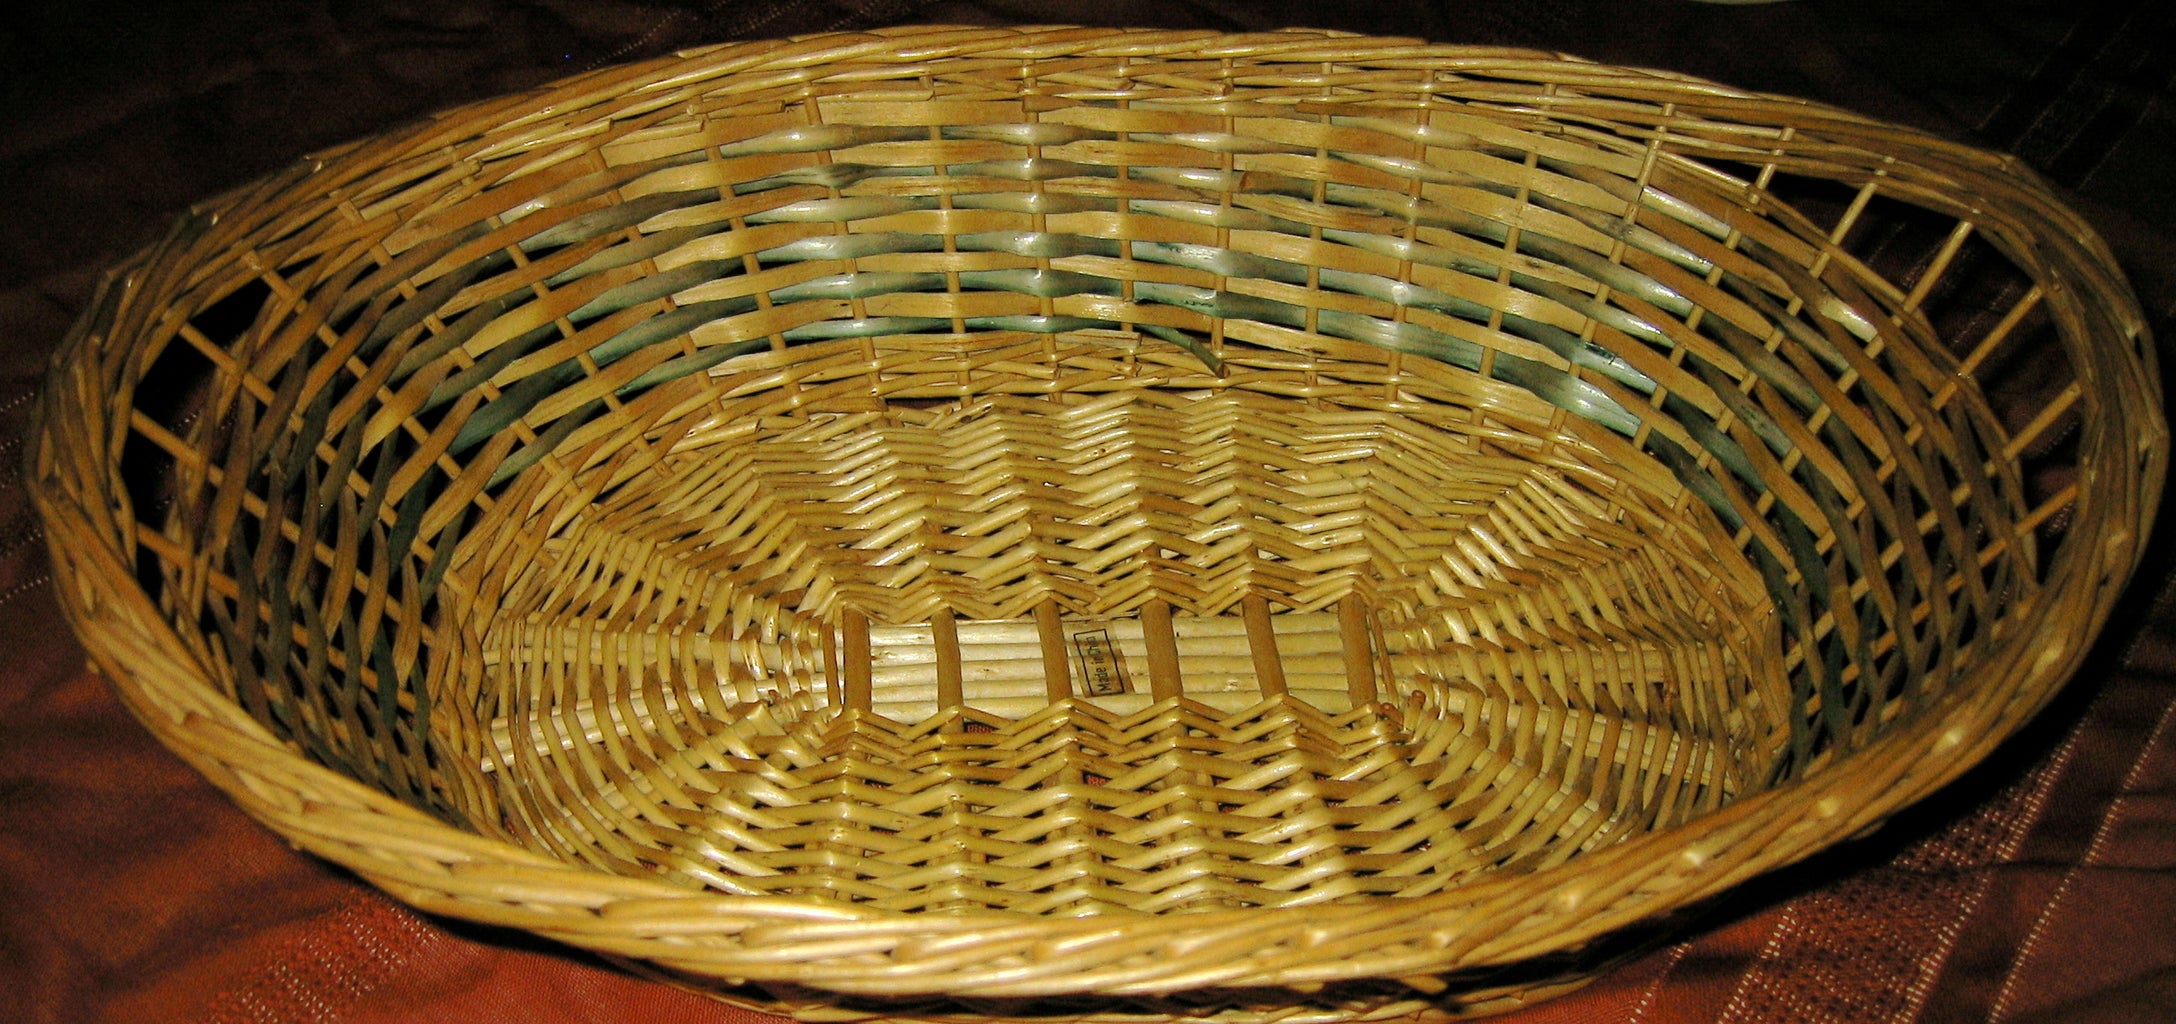
Shape the body over an oval form instead of a balloon for a different silhouette.
-
Glue on real feathers for an organic touch.
-
Add wiggle eyes, pom poms, fabric, sequins, or glitter for personality.
-
Craft turkeys in all different sizes and poses.
-
Hang your turkey as a decoration or tabletop centerpiece.
-
Kids can help with attaching the paper strips and decorating.
-
Document the steps to create a papier mâché turkey family craft tutorial for your blog.
Paper mache allows for all kinds of creativity. The key is using lots of glue and allowing ample drying time between layers to prevent sagging. With some simple materials and techniques, you can let your imagination run wild to make a showstopping turkey for Thanksgiving festivities. Let your inner craftiness loose and gobble up some family fun!
Frequently Asked Questions About Papier Mâché Crafts
What can you make using papier mache?
Papier mache is incredibly versatile for making decorative objects. Common things made with paper mache include:
- Bowls, vases, and containers
- Masks and costumes
- Animal sculptures like birds, dolphins, etc.
- Dioramas and sculptural landscapes
- Puppet heads and theatrical props
- Piñatas
- Furniture like chairs and tables
How do you make paper mache stick to a balloon?
Attaching paper mache to a smooth balloon surface can be tricky. Here are some tips:
- Inflate the balloon to maximum capacity so it’s taut, not squishy.
- Use long paper strips to wrap fully around the balloon horizontally.
- Apply a very wet paste mixture so strips adhere quickly before slipping.
- Build up layers gradually to encase the balloon fully.
- Let dry completely between adding more layers.
Can you eat paper mache?
No, paper mache made from flour and water is not intended to be eaten. While the ingredients themselves are edible, the glue can grow mold after it has dried. The recycled paper could also contain chemicals like ink or bleach. Stick to non-edible paper mache projects.
How long does paper mache take to dry?
Drying time depends on the climate, size of project, and thickness of layers. In general, allow 24-48 hours of drying between paper mache layers. Let the completed sculpture dry for at least 5-7 full days before painting or handling extensively.
Can you use glue instead of flour for paper mache?
Yes, many people prefer white craft glue or wood glue instead of flour. Glue creates a smoother finish and dries harder than flour. Mix one part glue with one to two parts water to thin it out to a workable consistency.
Get Creative with Turkey Paper Mache for Thanksgiving
A papier mâché turkey is the perfect handmade holiday decoration. Follow the steps to sculpt your own, then decorate it in your family’s own unique style. Let your creativity loose, craft memories together, and end up with an awesome turkey centerpiece you’ll treasure for years. Have a very happy Thanksgiving!

Step 2: Adding Papier-Mache


Step 1: Initial Mold

