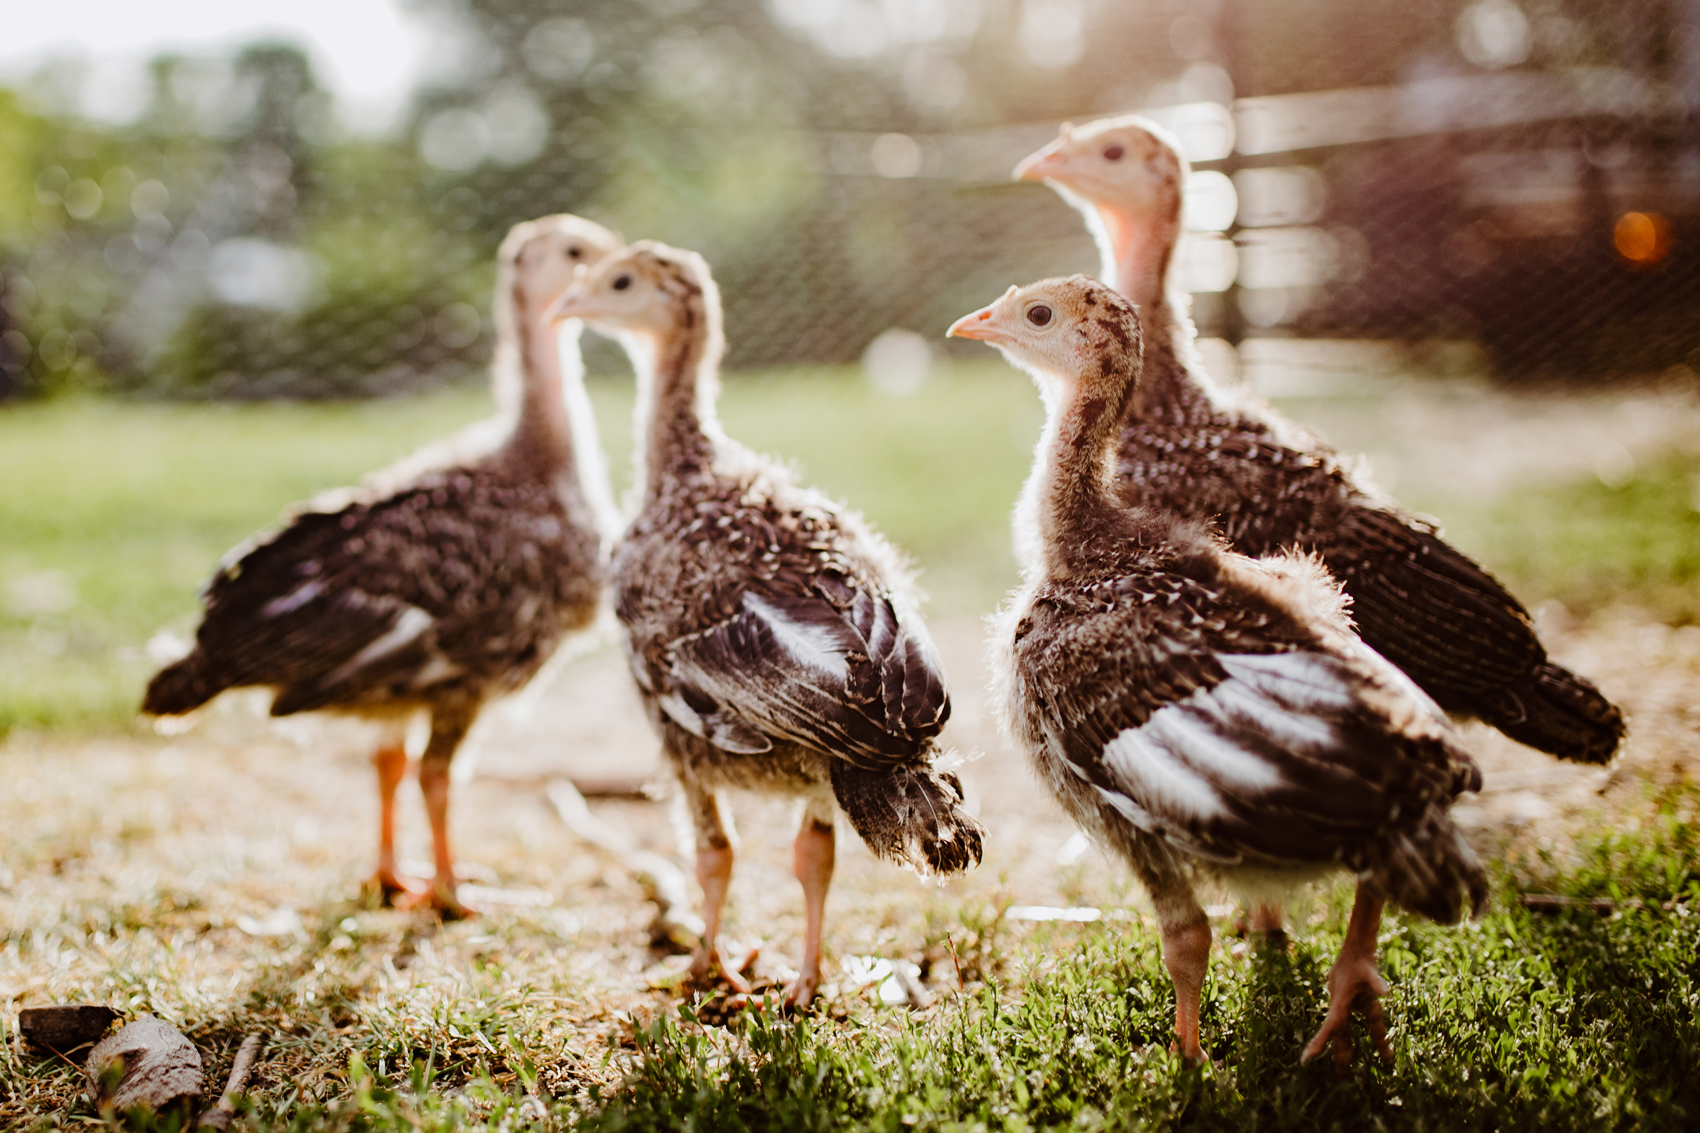
Free Range organic turkeys are extremely expensive at over $8 a pound. This game bird can be difficult to find so we decided to try raising turkey poults ourselves. We chose the Bronze Breasted turkey poults, and our results were astounding!
After they hatch from their egg and are small enough to hold in your hand, turkeys have a few differences but aren’t much different than raising chicks.
Learn these slight differences in how to raise baby turkeys by knowing what supplies you’ll need, how to create a proper turkey brooder, and food and water requirements.
Raising turkey poults (baby turkeys) can be a fun and rewarding experience for any backyard farmer or homesteader. With proper care and management, you can raise a healthy flock of turkeys for meat eggs or simply for enjoyment. While not as common as chickens, turkeys have a lot to offer and make a great addition to a diversified small farm.
In this comprehensive guide we will cover everything you need to know about getting started with turkey poults from setting up the brooder to processing your birds for meat. Whether you’re raising a couple poults or interested in larger-scale production, you’ll find tips and advice to help ensure success.
Turkey Poult Basics
Turkey poults are baby turkeys under 4 weeks old. They require extra care and management in their first few weeks of life. Here are some turkey poult basics to understand:
-
Poults are unable to regulate their own body temperature. They rely on an external heat source to stay warm. Ideal temperature is 95°F for the first week, then lowered by 5°F each week.
-
Poults are susceptible to illness and require clean surroundings. Proper sanitation and dry bedding are essential to prevent disease.
-
Poults have high protein requirements for fast growth. Feed poultry starter with 28% protein minimum.
-
Poults need help accessing food and water. Teach poults by dipping their beaks in feed and water frequently at first.
-
Different aged poults should not be mixed. Older birds can pass diseases to younger poults.
Understanding the unique requirements of poults will help you provide appropriate care right from the start.
Setting Up the Brooder
A brooder is an enclosed, warm, and protected environment for raising young poults. An adequate brooder setup is crucial for getting poults off to a healthy start. Here are some tips for an effective poult brooder:
-
Allow 1 square foot of floor space per poult. A 10 square foot brooder can accommodate 10 poults to start. Expand as they grow.
-
Use a draft-free area. Avoid windows, vents, or drafts. A barn or garage works well.
-
Provide proper heat. Use a 125W infrared heat lamp or brooder plate. Adjust temperature as needed.
-
Layer 3-5 inches of bedding. Pine shavings work well. Keep clean and dry.
-
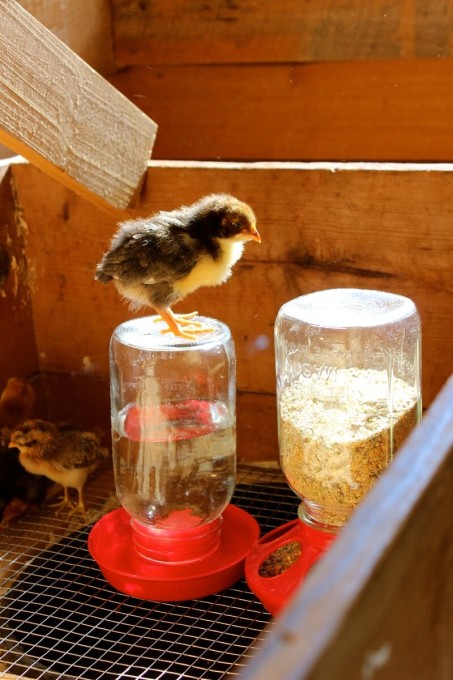
Include durable feed and water containers. Chick founts are a good size for poults. Use hangers to elevate.
-
Protect poults from hazards. Use dividers to keep poults away from corners, feed, water lines, and heat lamps.
Monitor poults closely. Adjust brooder setup as needed to maintain proper temperature, cleanliness, feed and water access, and poult safety.
Caring for Poults (Weeks 1-4)
The first 4 weeks are the most crucial time for proper poult care. Here are some tips for this delicate phase:
-
Maintain ideal brooder temperature (95°F week 1, then reduce 5°F per week).
-
Provide 24/7 access to starter feed and clean water. Dip beaks frequently to teach poults.
-
Keep bedding clean and dry. Replace soiled litter daily.
-
Check poults often for signs of illness. Monitor eating, drinking, energy levels, and droppings.
-
Avoid drafts, loud noises, and disturbances. Keep brooder area calm and comfortable.
-
Prevent piling up. Gently scatter poults if they start piling together.
-
Introduce roosts around 2-3 weeks. Low roosts will help poults learn to perch.
-
Transition feed at 4 weeks. Switch to higher protein grower feed with 26% protein.
With attentive care in the brooder phase, your poults will gain strength, feathers, and skills to thrive outside the brooder.
Moving Poults Outdoors (Weeks 5-8)
Once poults are fully feathered at 5-8 weeks, they can transition outdoors to a coop and run:
-
Acclimate poults slowly. Get them used to temperature swings by bringing the brooder outside on warm days.
-
Choose an appropriate outdoor shelter. A coop should have good ventilation and roosting space but protect from rain, wind, and predators.
-
Allow 8-10 square feet per poult. Expand space as birds grow.
-
Add roosts, feeders, and waters suited for size. Ensure adequate space for all birds.
-
Protect from predators. Use secure fencing and covers on runs. Lock birds in coop at night.
-
Open coop doors gradually. Let poults explore coop and run over several days to learn the new environment.
-
Mix grit into feed. Provide 1/2 cup grit per 20 poults around 6-8 weeks to aid digestion.
The transition to the outdoors is an exciting time as poults get to scratch, feel the sun, and act like turkeys!
Raising Grower Birds (Weeks 8-20)
From 8 weeks to harvest, poults are considered “grower birds” and require the following:
-
Quality grower feed. Feed an age-appropriate 16-24% protein turkey grower.
-
Ample space. Give each bird 10+ square feet as they near adulthood.
-
Access to pasture or range. Rotational grazing is ideal for exercise and foraging.
-
Routine health checks. Monitor weight gain, injuries, parasites, illness.
-
Protection from extreme cold. Brush snow away from coop entrances in winter.
-
Proper lighting. Give 14-16 hours of light per day to maintain growth rate.
With good feed, space, and care during the grower stage, your turkeys will reach harvest weight between 16-24 weeks depending on breed.
Processing Turkeys for Meat
Processing your own turkeys can save money compared to buying meat. Here are some tips:
-
Butcher at 16-24 weeks for ideal flavor and texture. Wait for birds to reach target weight for breed.
-
Withhold feed for 12-24 hours before processing. Allows birds to empty crops and intestines.
-
Have supplies ready for humane slaughter. Sharp knife, cones, scalder, plucker, sanitizer, etc.
-
Chill carcasses rapidly below 40°F. Use ice baths or meat hanging refrigerator.
-
Package meat safely. Seal in freezer bags or vacuum pack; use freezer labels.
-
Cook thoroughly to 165°F. Roast, grill, or smoke for delicious homegrown turkey meat!
With proper planning and equipment, home processing allows you to harvest high-quality meat from the turkeys you raised.
From preparing the brooder to processing your first turkeys, raising poults takes time and dedication. But the reward of a homegrown holiday turkey is well worth the effort for any homesteader!
Follow this guide for brooder setup, poult care, housing, feeding, and processing tips. With attentive management of your flock, you’ll be on your way to successfully raising healthy, hearty turkeys from poults to processed birds.

Supplies Needed for Making Magic Water
- ½ Gallon Mason Jar – This size jars works perfectly for making a couple days worth of magic water.
- Long Handled Spoon – You’ll want to make sure your ingredients are well blended.

Ingredients Needed for Making Magic Water
- ½ Gallon of Fresh Water – Tap water works fine.
- ½ Cup Honey – I recommend using local honey.
- 2 Cloves Garlic – Crushed garlic blends best.
- 2 Tablespoons Apple Cider Vinegar – We like Bragg’s raw apple cider vinegar.
Raising Turkeys From Hatching to Processing – Part 1 | @semojohomestead
FAQ
Are turkey poults hard to raise?
How long do baby turkeys need a heat lamp?
What do you need to raise baby turkeys?
What do you feed turkey poults?
Should you raise turkey poults?
You might consider taking care of turkey poults and raising them into grass-fed, healthy adult turkeys for numerous reasons. A poult is simply a baby turkey, and these funny little creatures can grow into a lean protein that’s great for tasty holiday meals, winter soups, and summer sandwiches. Reasons To Raise Turkey Poults
What are the health benefits of ground turkey?
Ground turkey has multiple benefits. It is a good source of minerals, and B vitamins, rich in proteins, low in fat and it is lower in calories than common turkey.
How do you raise turkey poults to maturity?
Here are a few tips and tricks for successfully raising poults to maturity. Add a chicken chick or two to your order when purchasing turkey poults. To protect your young flock’s health, choose chicks that have never touched the earth’s surface, such as from a hatchery or feed store, to minimize the potential of blackhead disease.
Is raising turkey poults the same as raising baby chicks?
For the most part, raising turkey poults is quite similar to raising chicks, so we suggest you start by reading our article Raising Baby Chicks 101. If you’ve already raised chickens, then you’ll want to keep reading on to learn the key differences when it comes to raising turkey poults.
