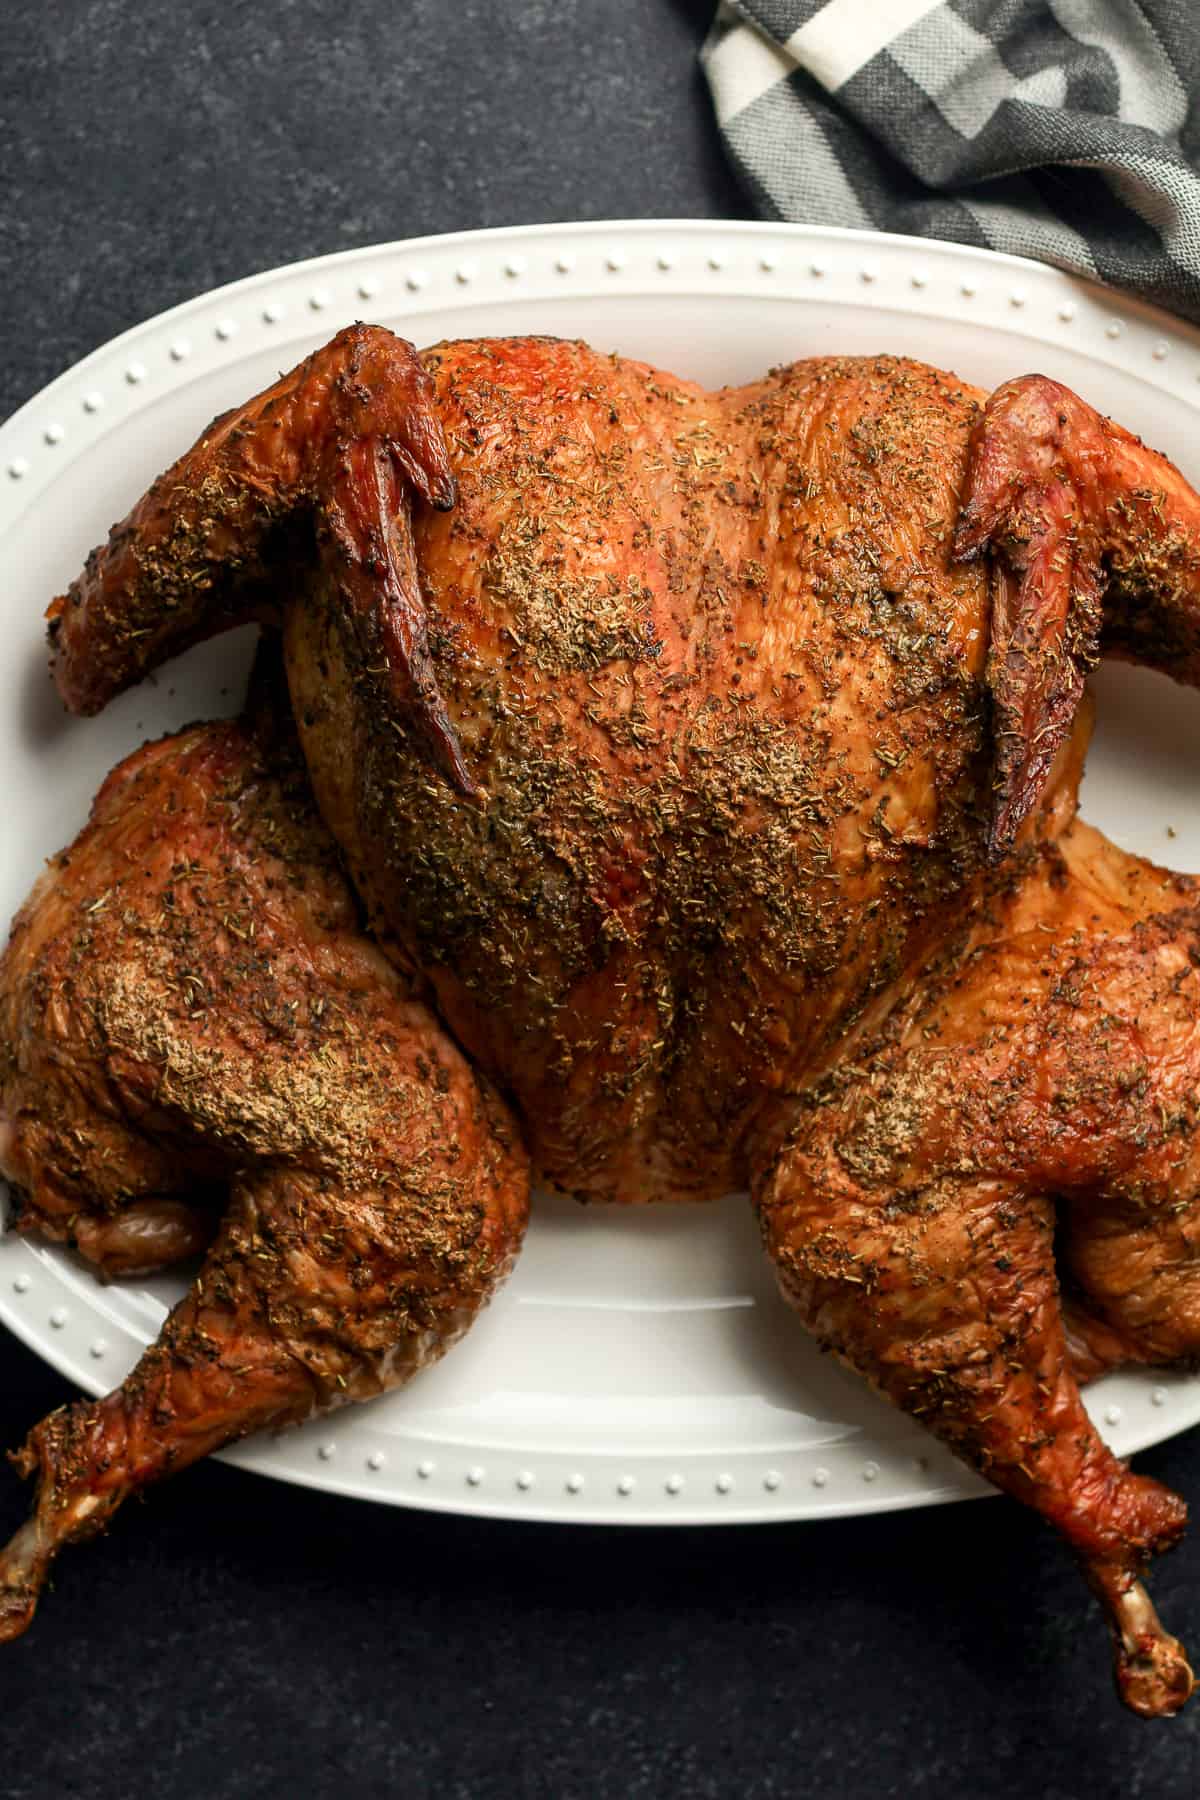
This Smoked Spatchcock Turkey is a simple main dish and should be the centerpiece of your holiday table. Use sharp kitchen shears to remove the backbone, add the best seasoning rub for fantastic flavor, and smoke it to perfection!
Introducing our go-to Thanksgiving Dinner centerpiece! This smoked spatchcock turkey is tender and delicious and is a no-fail recipe every time.
Thanksgiving is THE most popular meal of the year. We gather with people we love, count our blessings, share stories and dreams of our future, and eat a delicious meal together. Here in Texas, we occasionally even take this meal outside on the deck, depending on the weather.
There is always one thing that happens every year at Thanksgiving. We eat tons of great food!
Spatchcocking a turkey before smoking it is a great way to ensure even cooking and infuse tons of flavor. Removing the backbone allows the bird to lay flat so it can absorb smoke evenly. Spatchcocked turkeys cook faster too since more surface area is exposed to heat. If you’ve never spatchcocked a turkey before, don’t worry – it’s easier than you think! Here’s a complete guide to spatchcocking a turkey for smoking.
What is Spatchcocking?
Spatchcocking is a simple process of removing the backbone of a bird so it can be flattened out Also called butterflying, this technique allows poultry to cook faster and more evenly since the bird lays flat in one layer
Spatchcocking enables seasonings and smoke to permeate the meat thoroughly during cooking. It also reduces overall cook time since more surface area is exposed to heat at once. The result is incredibly juicy, tender turkey with amazing smoky flavor in less time.
Benefits of Spatchcocking a Turkey for Smoking
There are several advantages to spatchcocking a turkey before smoking it
-
Cooks evenly: With the backbone removed, the turkey lays flat so all areas get exposed to heat and smoke evenly. No fighting with thick parts that need more time.
-
Cooks faster: A spatchcocked turkey can cook in about half the time of an intact turkey since so much more surface area is exposed to heat at once.
-
Easy to carve: With the backbone gone and breastbone spread, the turkey is easy to carve after smoking. No fighting to cut perfect slices.
-
Incredible smoke flavor: Smoke can penetrate all areas of the turkey, infusing incredible flavor into the meat.
-
Crispy skin: The skin crisps up beautifully when smoked spatchcock-style.
Step-by-Step Guide to Spatchcocking a Turkey
Spatchcocking a turkey is simple to do at home with just a few basic tools and a bit of elbow grease. Here is a step-by-step guide:
Supplies Needed
- Sharp kitchen shears or heavy-duty scissors
- Cutting board
- Towels (optional)
- Turkey
Instructions
-
Remove any giblets or neck from the turkey cavities. Rinse turkey and pat dry.
-
Place turkey breast-side down on a cutting board. For stability, you can place towels under the wings and legs.
-
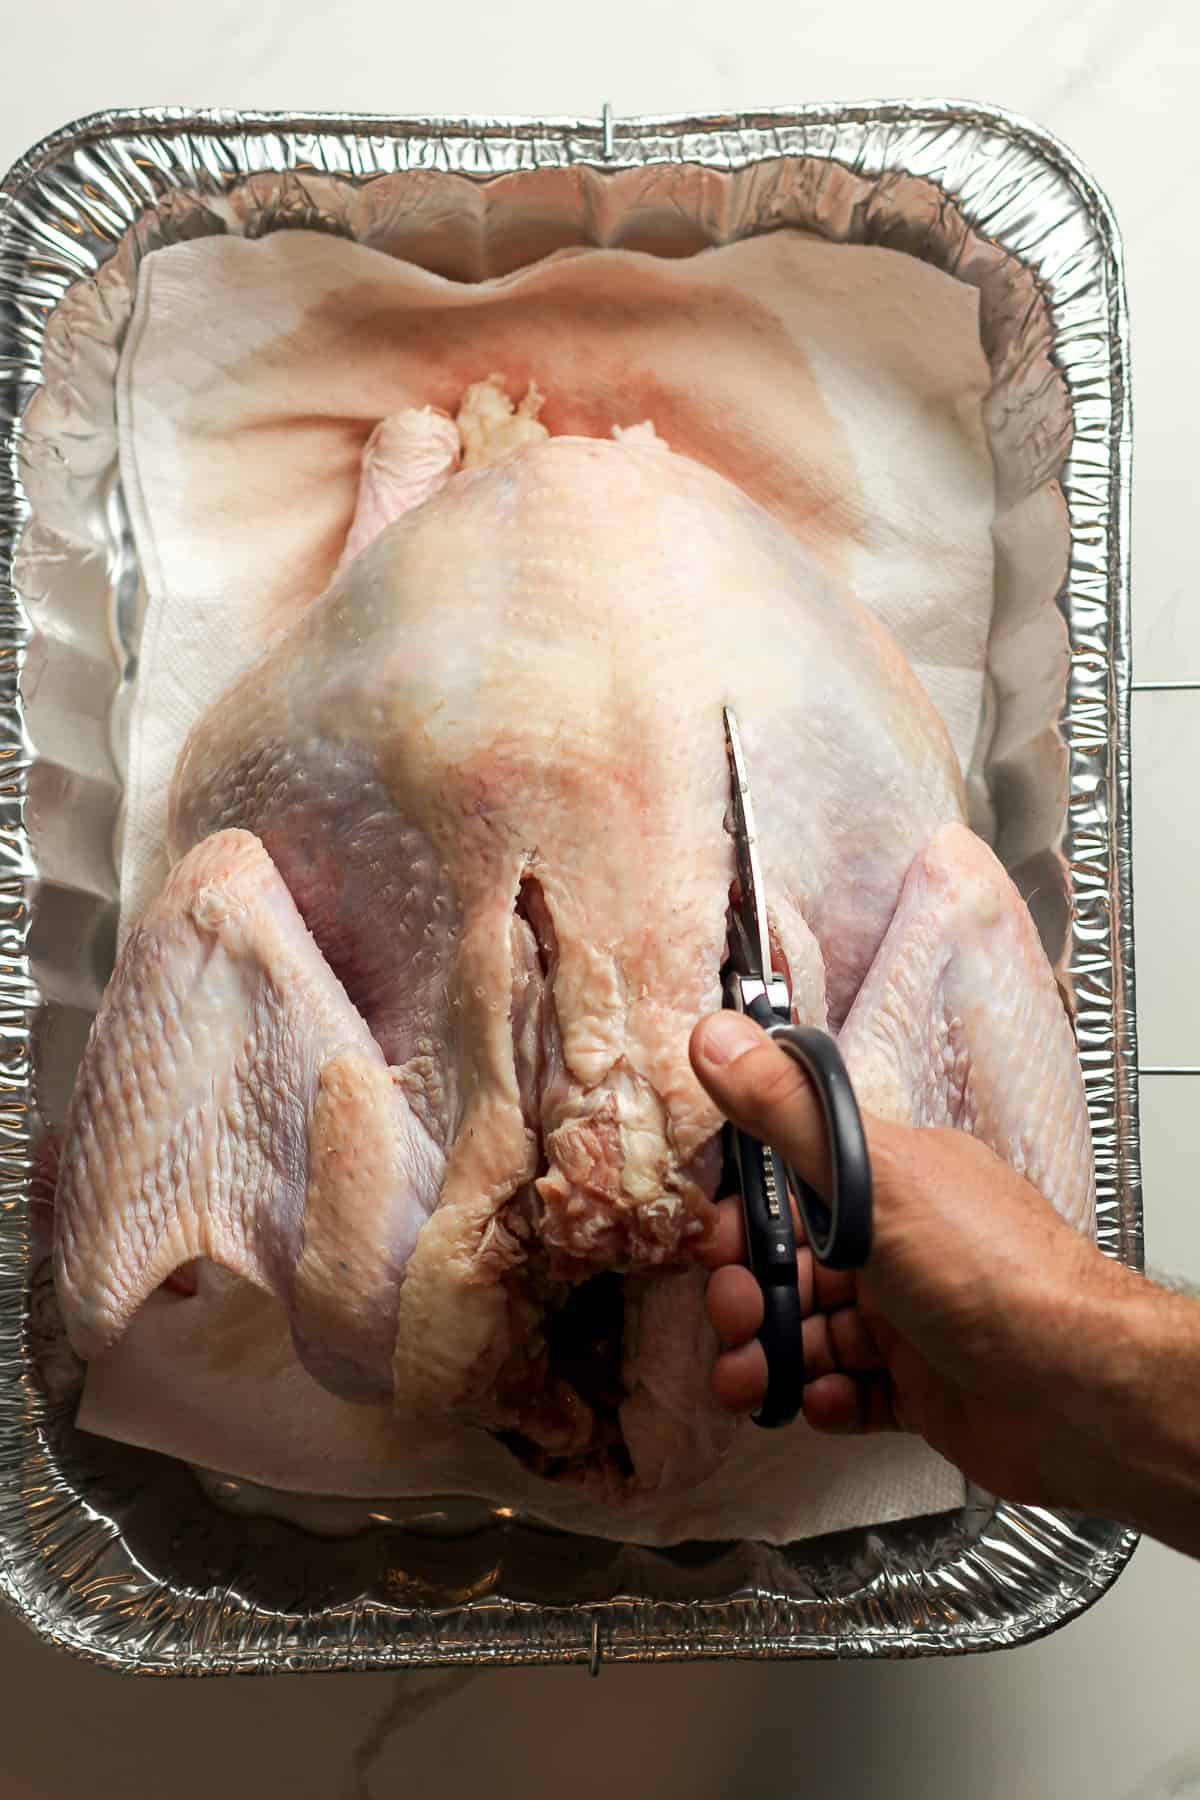
Using kitchen shears, cut along one side of the backbone from the tail to the neck cavity.
-
Repeat on the other side of the backbone to completely cut it away from the turkey.
-
Reserve the backbone for making stock if desired. Otherwise discard.
-
Flip the turkey over breast-side up. Press firmly on the breastbone until it cracks and the turkey flattens.
-
Tuck the wing tips under the shoulders to hold them in place.
-
The turkey is now ready for seasoning and smoking!
Video Demonstration
Seeing spatchcocking in action can help visualize the process. This video clearly demonstrates how to spatchcock a turkey.
Seasoning and Smoking a Spatchcock Turkey
Once your turkey is spatchcocked, it’s time for the fun part – flavoring and smoking! Here are some tips:
-
Dry brine: Salt the bird heavily and let rest overnight in the fridge. This infuses incredible flavor and moisture.
-
Wet brine: Soak the turkey overnight in a saltwater solution with aromatics. This keeps it super juicy.
-
Rub: Coat the turkey all over with a flavorful dry rub before smoking.
-
Under skin: Slide compound butter or herb paste under the skin to infuse flavor.
-
Smoke low and slow: Keep the smoker temp between 225-275°F for best results. Smoke with fruit woods like apple or cherry.
-
Watch the temp: Insert a probe thermometer in the thickest part of the breast. Smoke until it reaches 165°F.
Answering Common Questions
If you’re new to spatchcocking turkeys, chances are you have some questions. Here are answers to some of the most frequently asked questions:
Does spatchcocking work for small turkeys?
Yes! You can spatchcock turkeys of any size. The technique works great for smaller birds like 10 lb turkeys or less.
Can I spatchcock a frozen turkey?
You’ll need to thaw the turkey completely before spatchcocking. Trying to cut through frozen bones is difficult and dangerous.
Do I really need kitchen shears for spatchcocking?
Kitchen shears work best since they cleanly cut through the ribs and backbone. A very sharp chef’s knife can work in a pinch but isn’t ideal.
Is spatchcocking safe?
Absolutely! There are no health risks to spatchcocking when done properly. Just be sure to cook the turkey to a safe internal temperature after smoking.
Enjoy Perfectly Cooked Smoked Turkey
While it may seem intimidating the first time, spatchcocking a turkey is easy once you get the hang of it. The results are well worth the minimal effort – juicy, tender turkey with deep smoky flavor in record time. Follow the tips in this guide for smoking success!
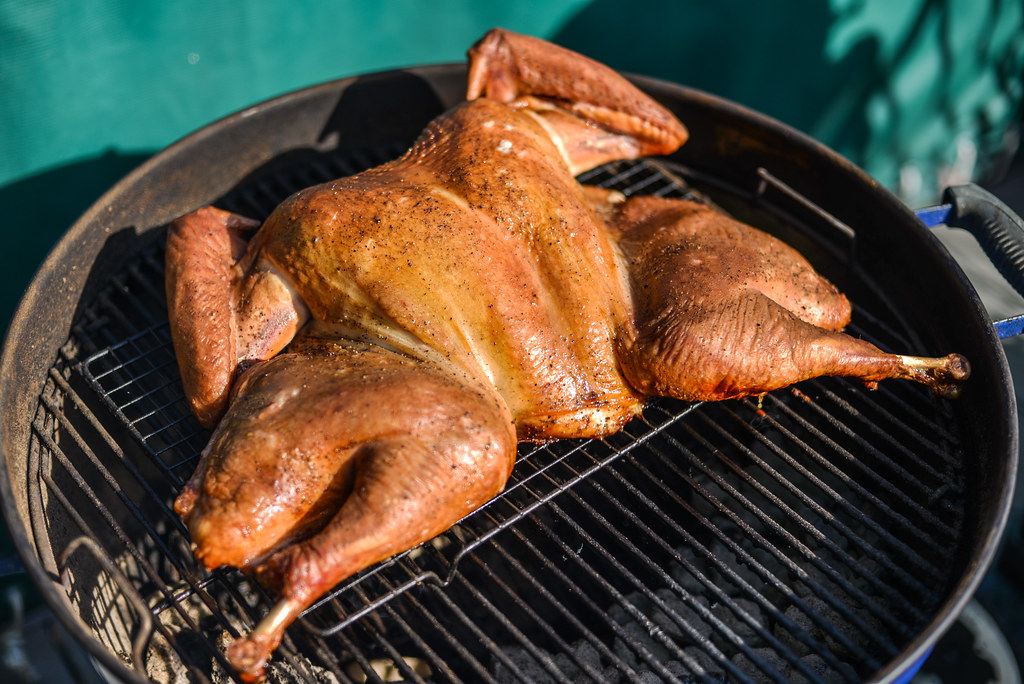
How to make Smoked Spatchcock Turkey:
Step 1Prep turkey. Remove the inside contents of the whole turkey. Use some paper towel to pat it completely dry. (This may take a bunch of paper towels/towels depending on how wet your turkey is. It will be wetter if thawed out after being frozen.) Be sure to sterilize your counters and sink after prepping turkey!
Step 2Spatchcock the turkey. Use sharp kitchen shears (I’ve linked what I have below.) and remove the backbone. If you have a pair of kitchen shears, this will be fairly easy. You may have to cut through some cartilage on both sides of the backbone, but it should only take a few minutes or so.
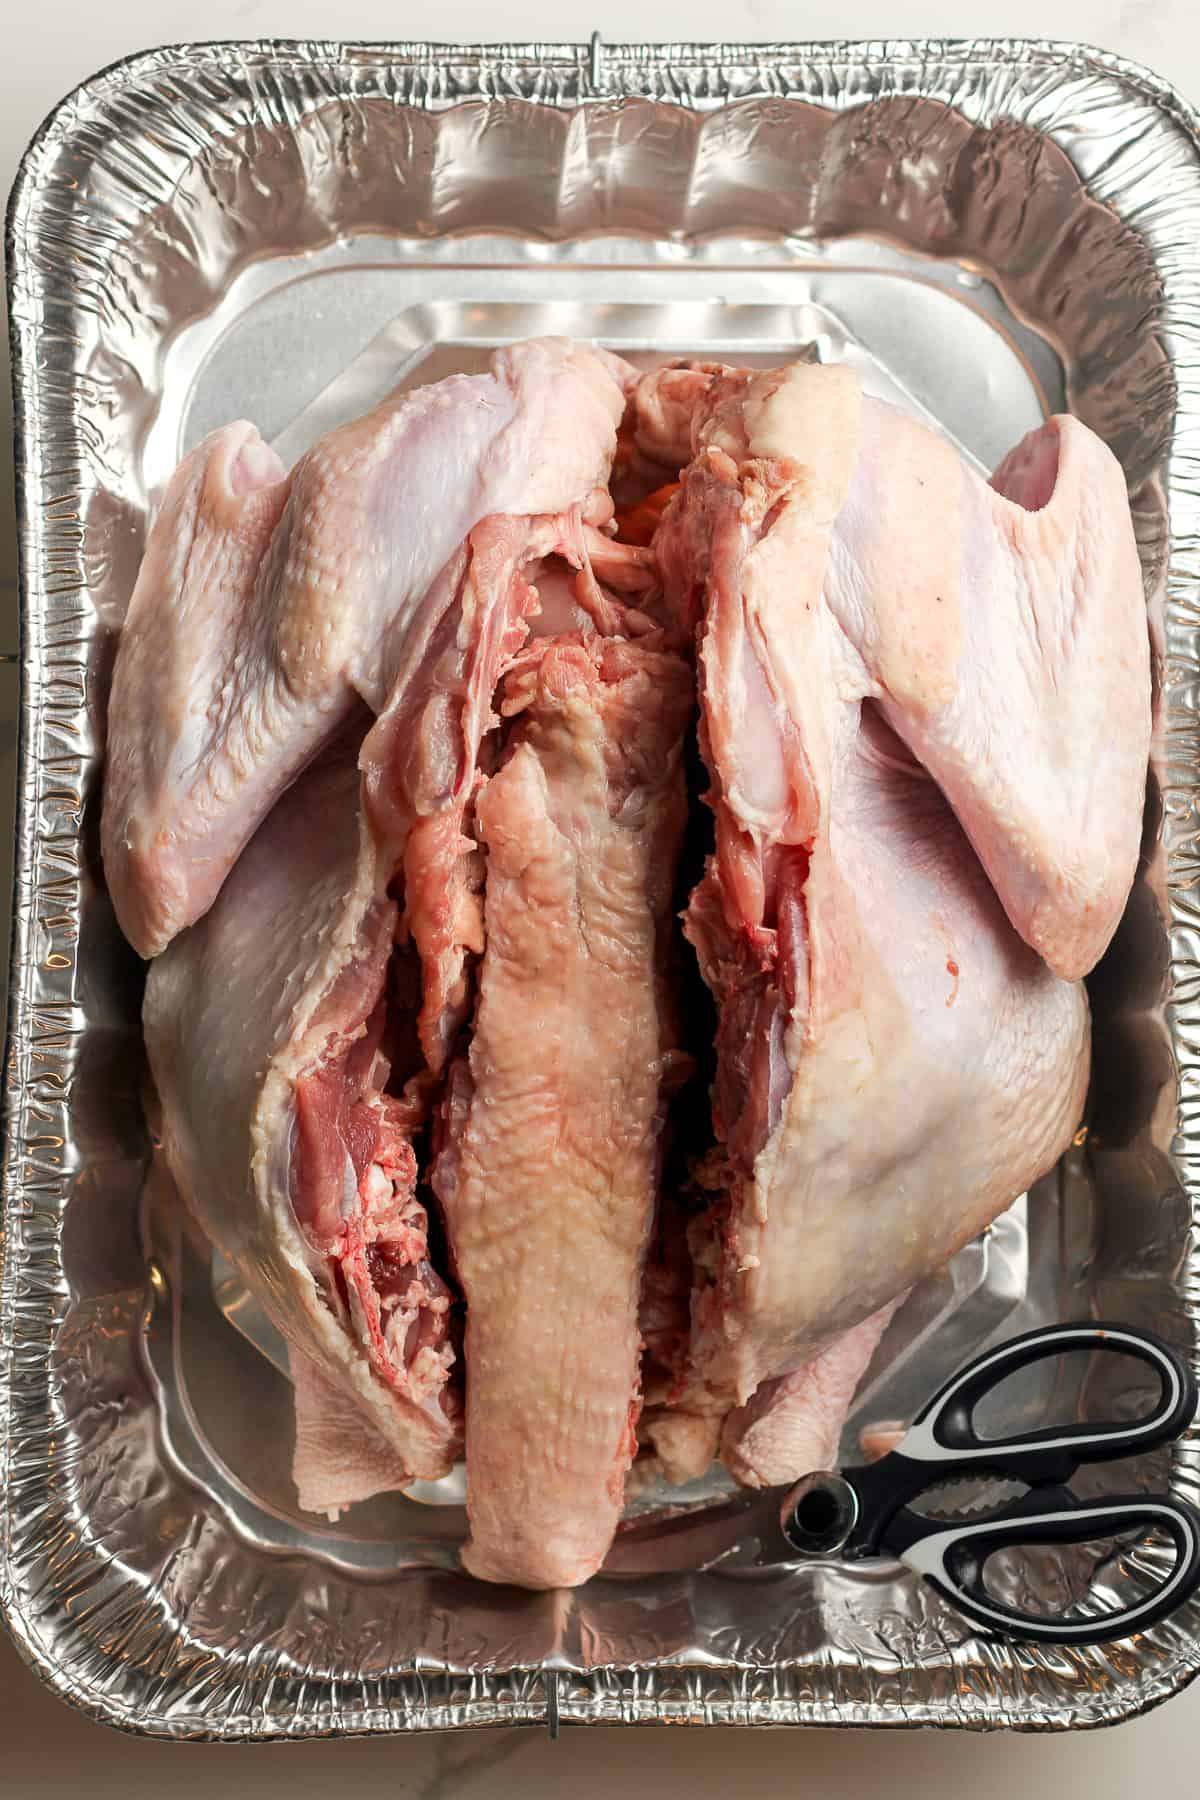
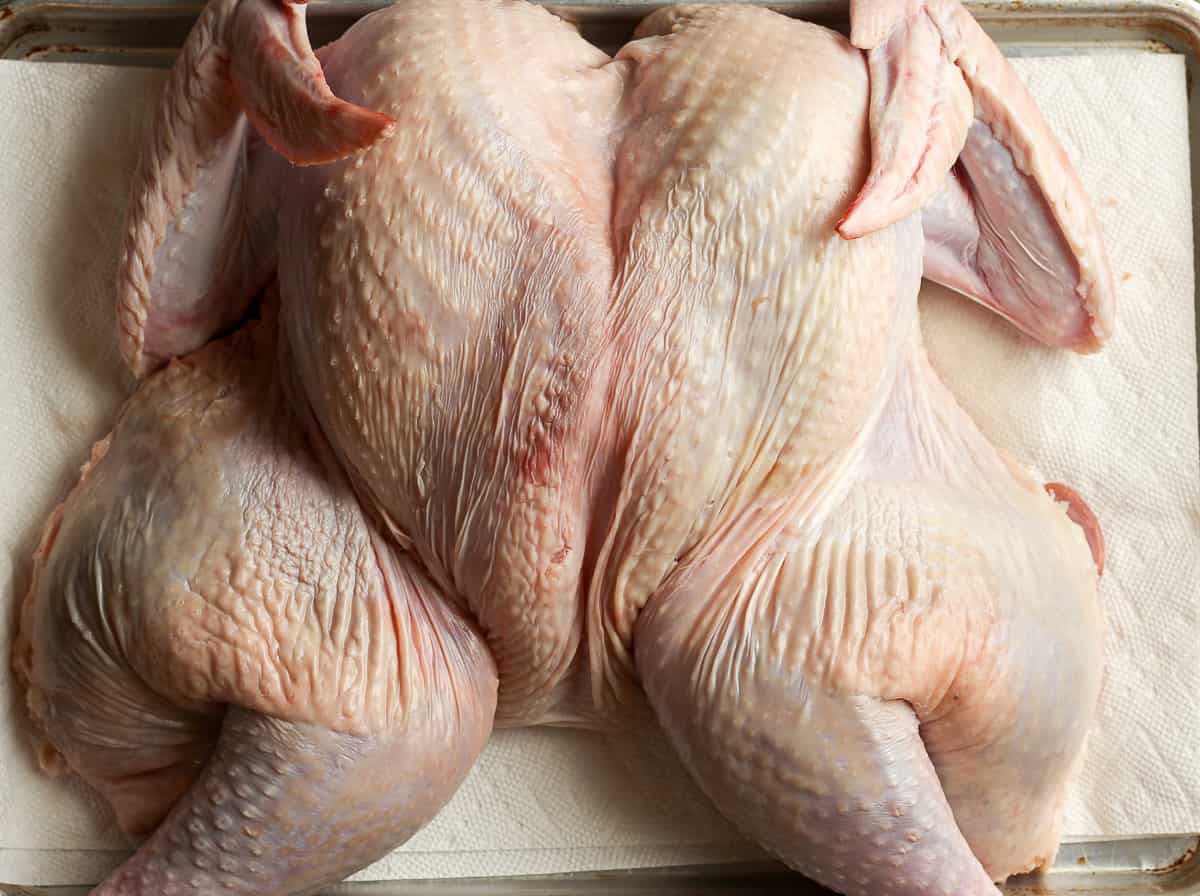
Step 3Lay the turkey flat, skin side up. Use your hand to press on the breast bone so that it completely flattens. Make sure you adjust the parts to make it easier to cook.
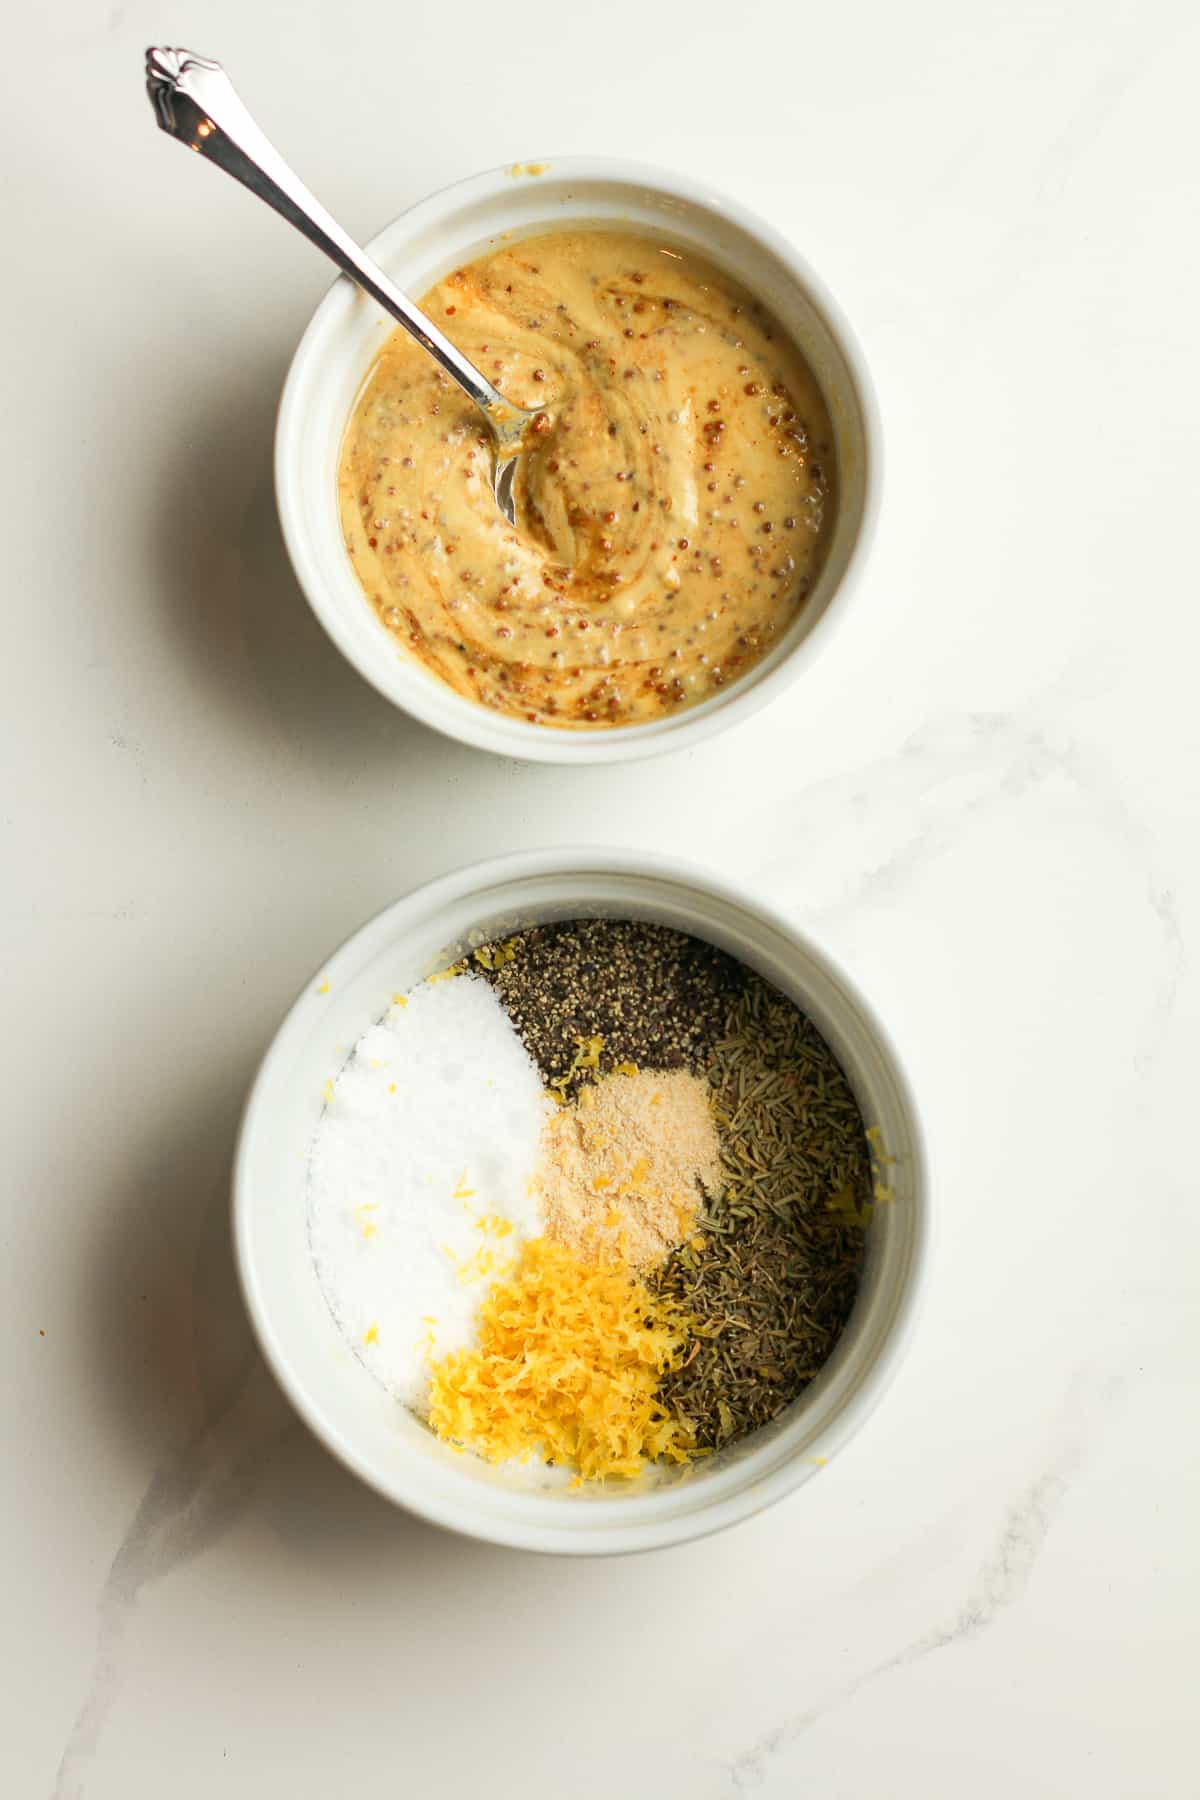
Step 4Prepare seasonings. Add mustard to a bowl. I used a combo of Dijon and ground mustard. you can use all of one type or a combo. Then mix up the seasoning mixture – the kosher salt, black pepper, dried rosemary, dried thyme, onion powder, and lemon zest.
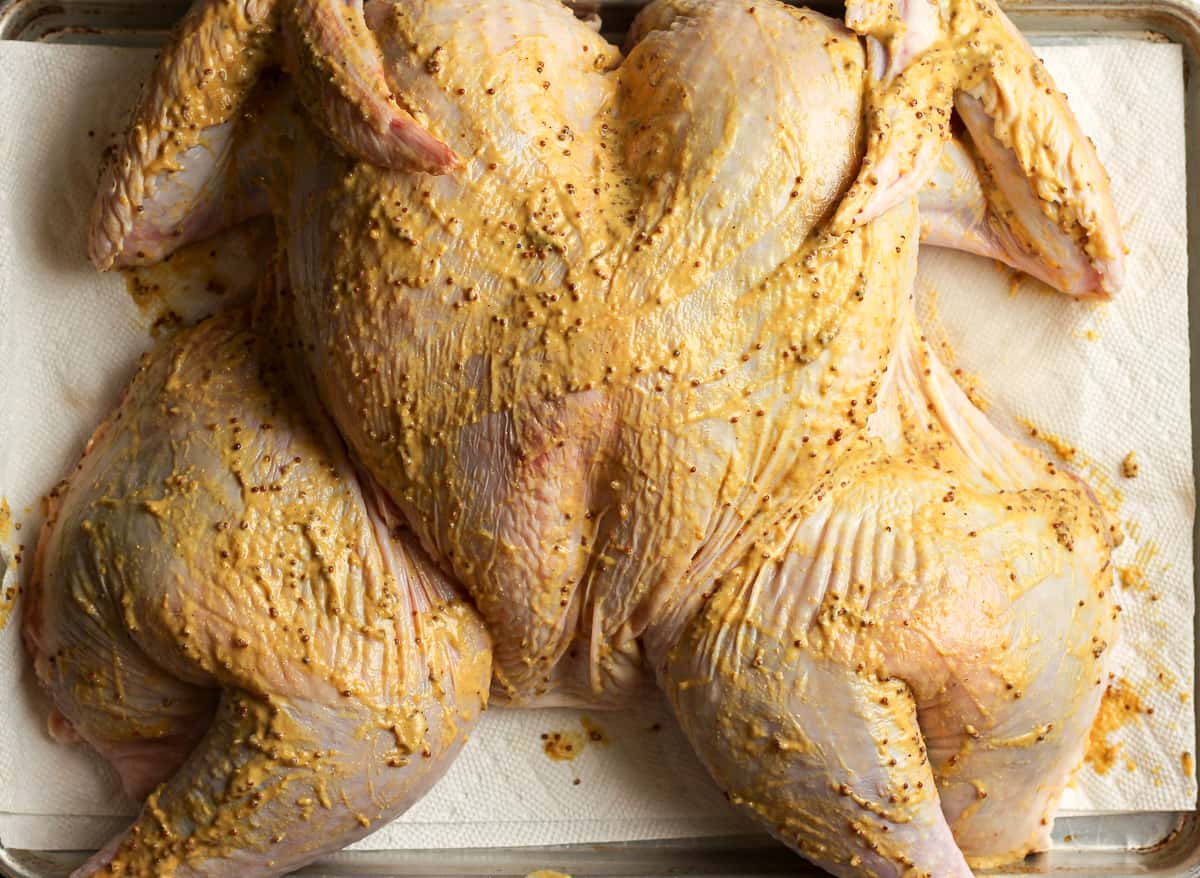
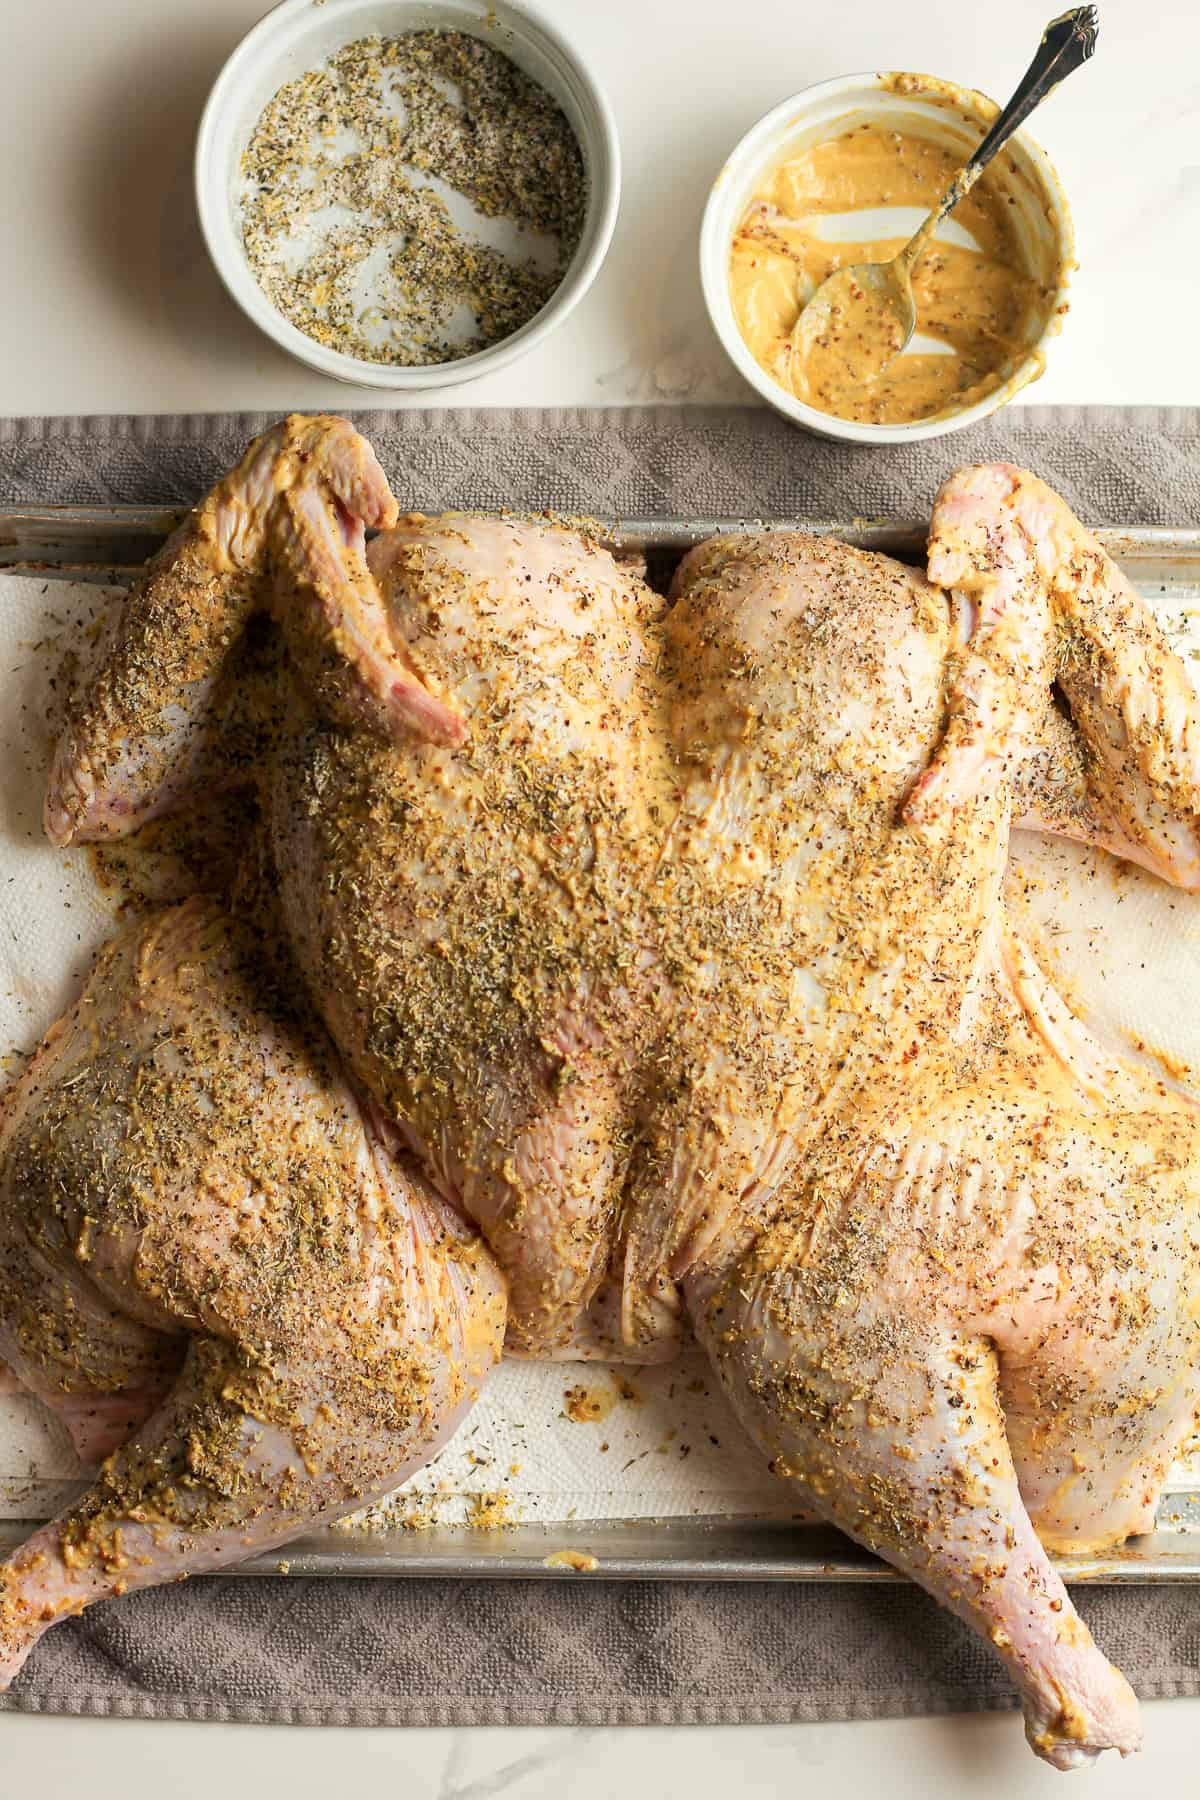
Step 5Add mustard and seasoning. Use your hand to spread the mustard all over the top of the turkey, covering every bit with a generous amount. Then add the seasonings, sprinkling all over the mustard. The raw turkey should be close to room temperature before cooking, for best results.
Step 6Light a grill/smoker. Preheat a grill or smoker to about 250 degrees for indirect cooking. Add smoked chips and then place turkey on grill.
Step 7Smoke the turkey. Smoke the turkey until an intant-read meat thermometer reaches about 160 degrees in the thickest part of the breast and 180 degrees in the thigh. This will take about four hours. Make sure the turkey leg moves easily and it’s completely cooked. Test the internal temperature of both the white and dark meat.
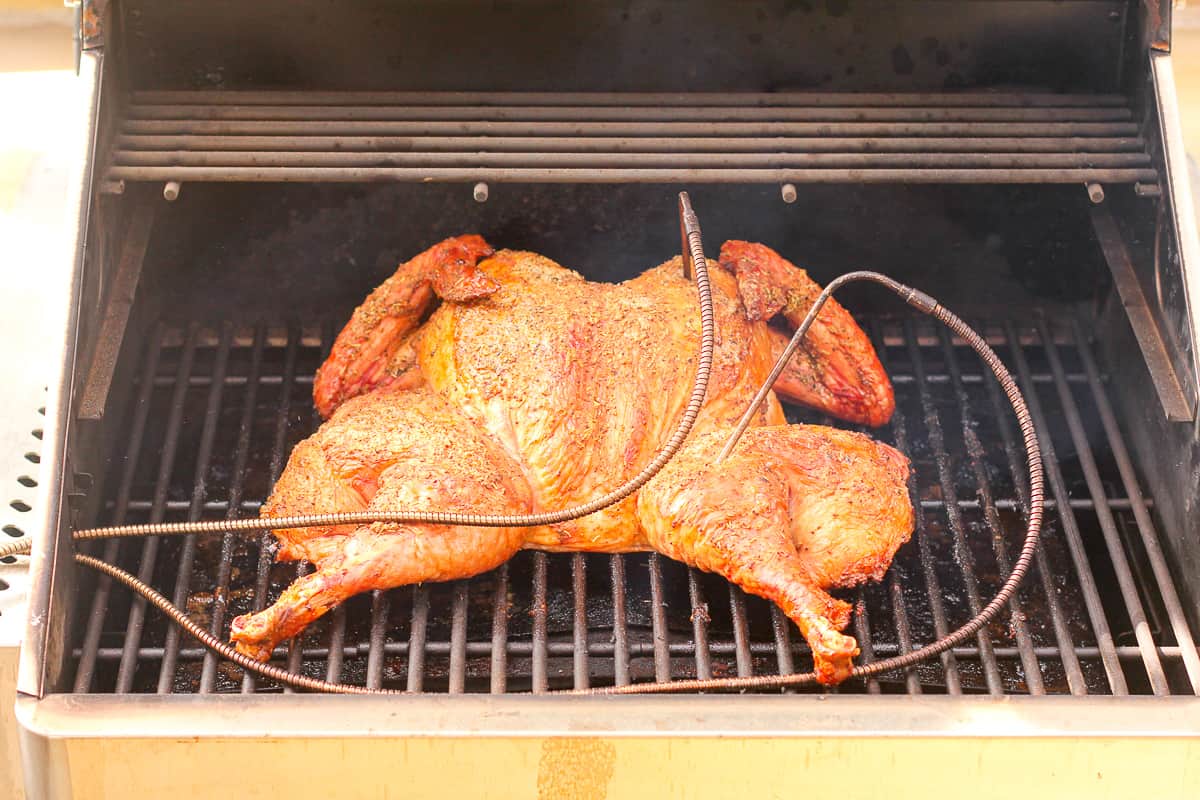
Step 8Let the turkey rest. Remove the turkey and let it rest for about 20 minutes before slicing. The goal is to keep the juices IN the bird so resting it is vitally important.
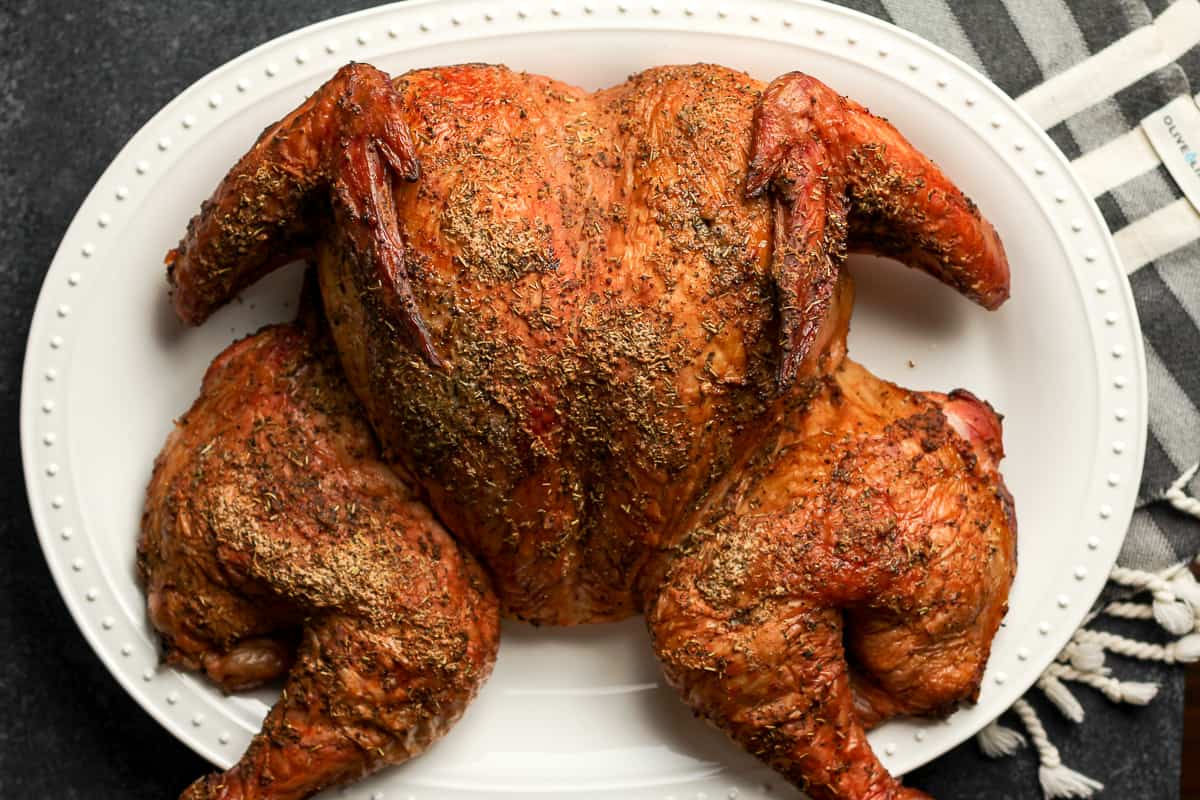
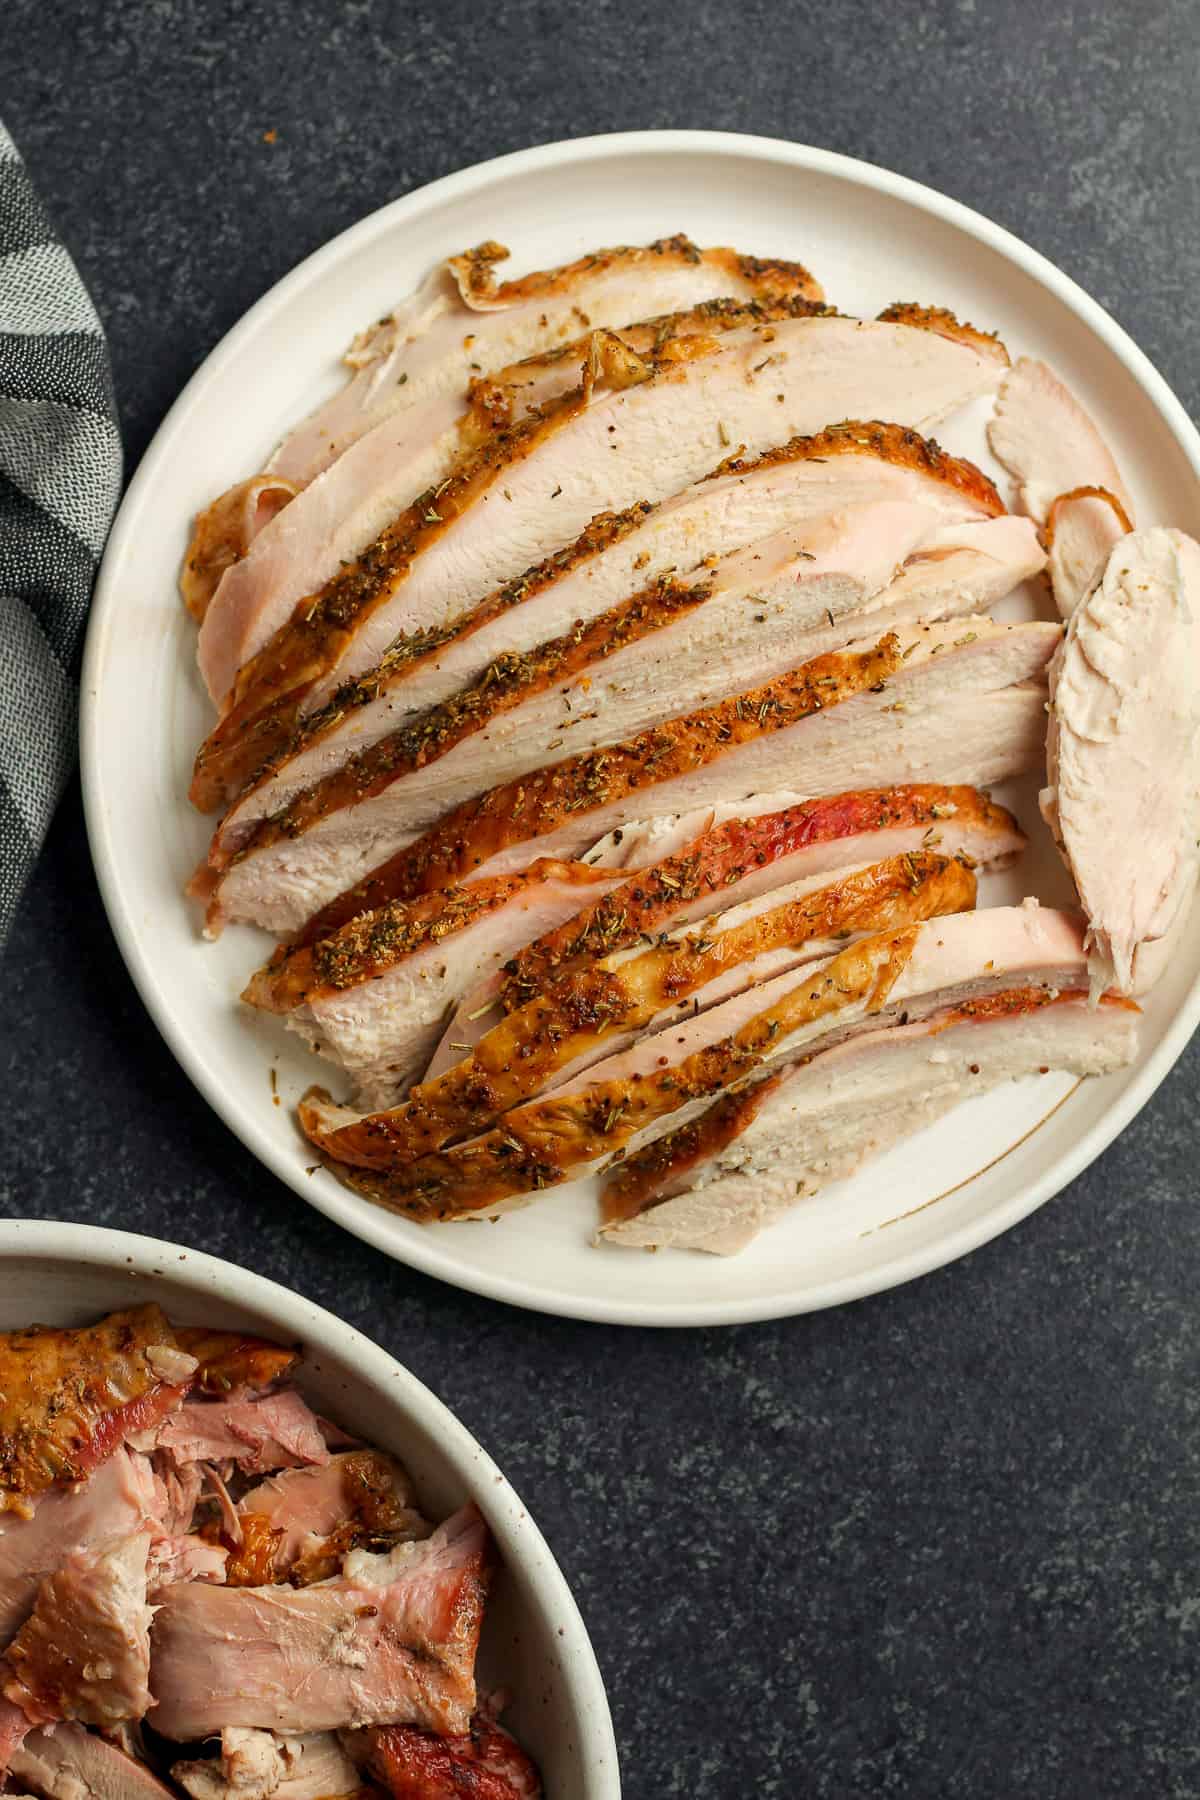
Step 9Slice turkey. Transfer the turkey to a large cutting board and use a sharp knife to carefully slice the entire turkey, keeping the skin intact.
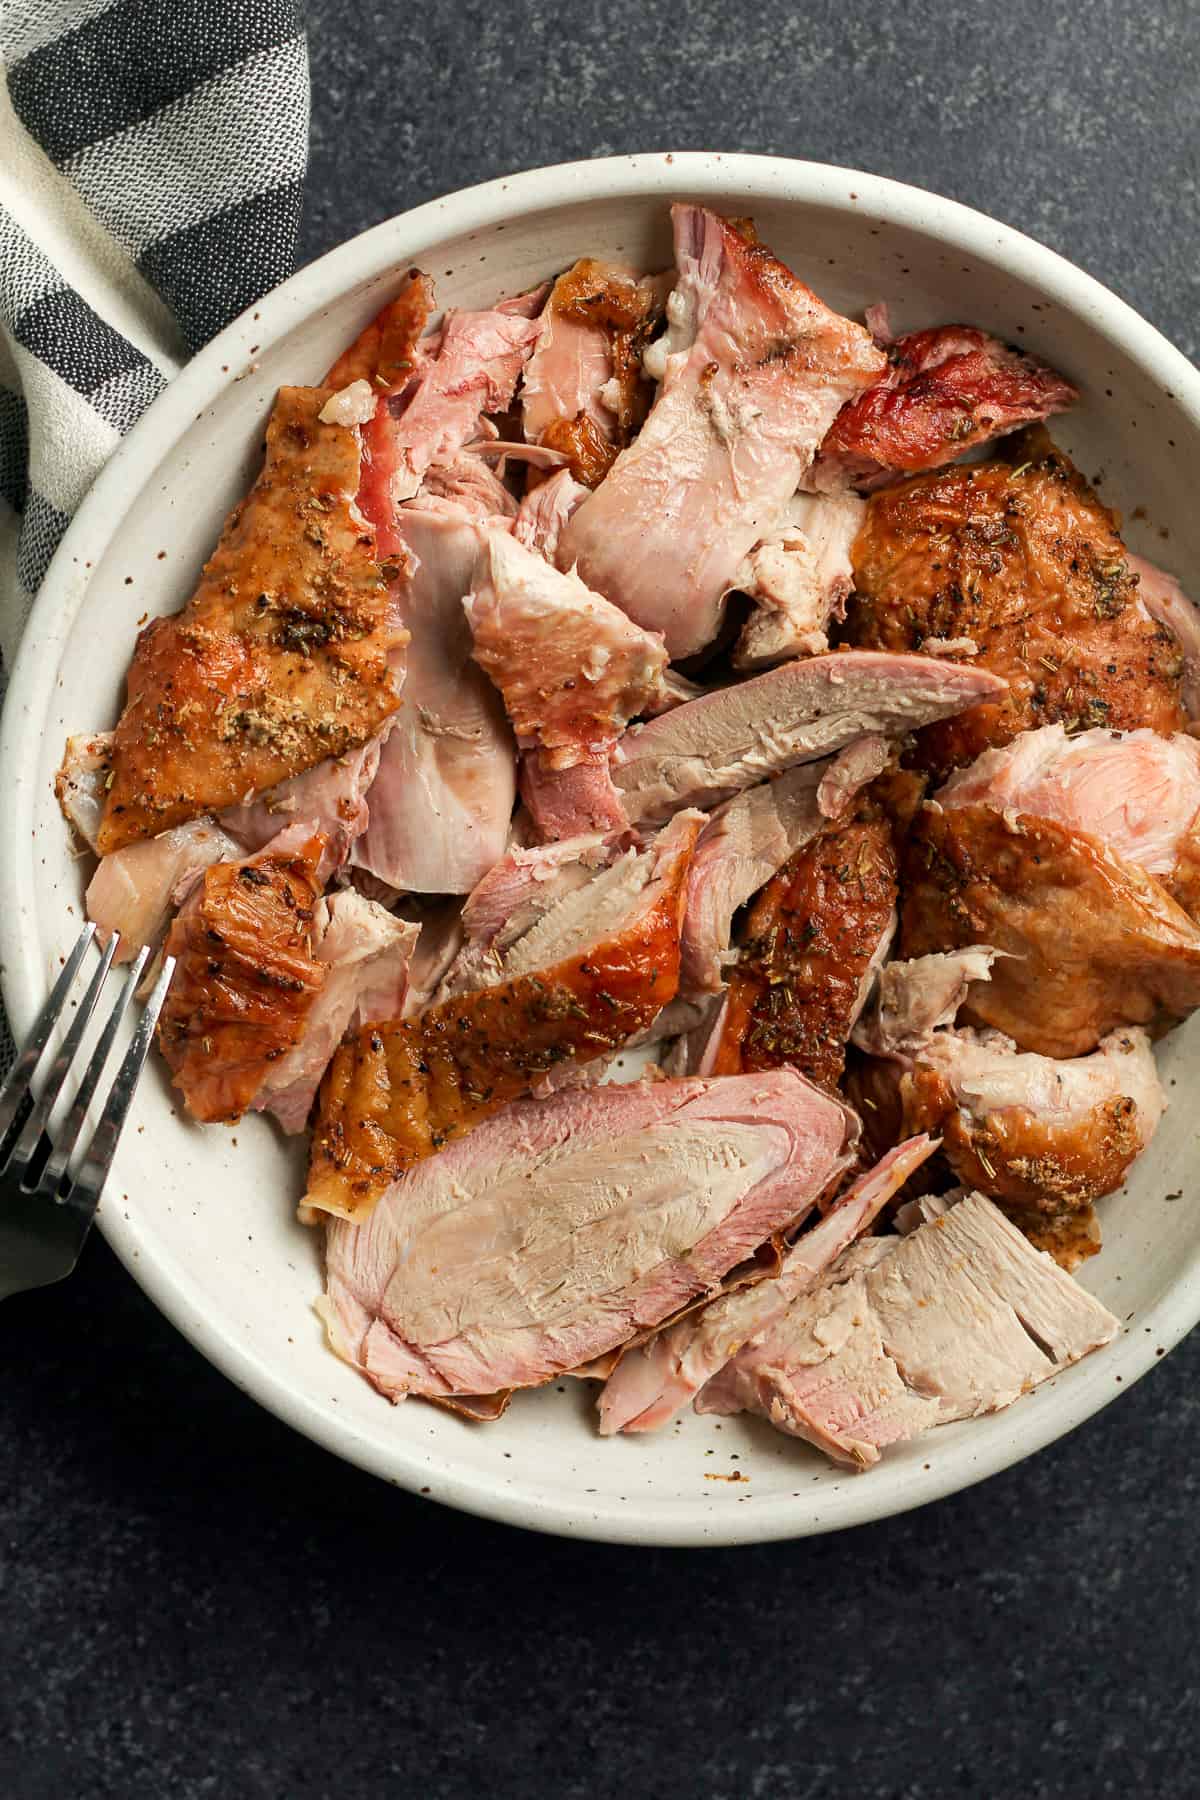
- Store leftover turkey in an airtight container for 4-5 days.
- Use your leftover turkey in Turkey Rice Soup.
- Try our delicious Leftover Turkey Rice Casserole.
- Use the tender meat in sandwiches and salads.
Other Delicious Side Dishes:
You’re going to need a variety of side dishes to go with the best turkey ever! Your special occasion dinner table will be complete with a few of the recipes below!
