This turkey season, keep more than the breasts and legs. With a few household items, you can turn the tail into a decoration for your house or a decoy to use in upcoming turkey seasons. All you need is a big enough piece of cardboard, salt (or borax), a knife, some push pins, and time.
How to Make a Turkey Fan Mount for Displaying Your Hunting Trophy
As a turkey hunter, you know the thrill of successfully bagging a nice tom. Now you may be wondering – how can I preserve this trophy in the form of a stylish turkey fan mount? Crafting a decorative fan yourself is totally doable with some basic tools and these key steps:
- Harvest and Remove the Fan
- After humanely killing your turkey, locate its tailbone and carefully cut along it to remove the fan of tail feathers.
- Try to keep extra length on the feathers so they can be trimmed later if needed.
- Place the fan in a plastic bag and freeze it ASAP. Freezing kills parasites and prevents rotting.
- Thaw and Clean the Fan
- Once thawed, remove all meat, fat, and the tailbone from the fan using sharp knives. Be meticulous!
- Clip away any unwanted feathers from the backside.
- Use scissors to separate quills, then scrub out all fat residues with a wire brush.
- Shape and Preserve the Feathers
- Arrange feathers how you want them and pin in place with tacks/toothpicks.
- Generously coat the fan base with borax powder. This dries and preserves it.
- Let sit 1-4 weeks. Check periodically and remove any concerning spots.
- Wipe off excess borax afterward and repin feathers if needed.
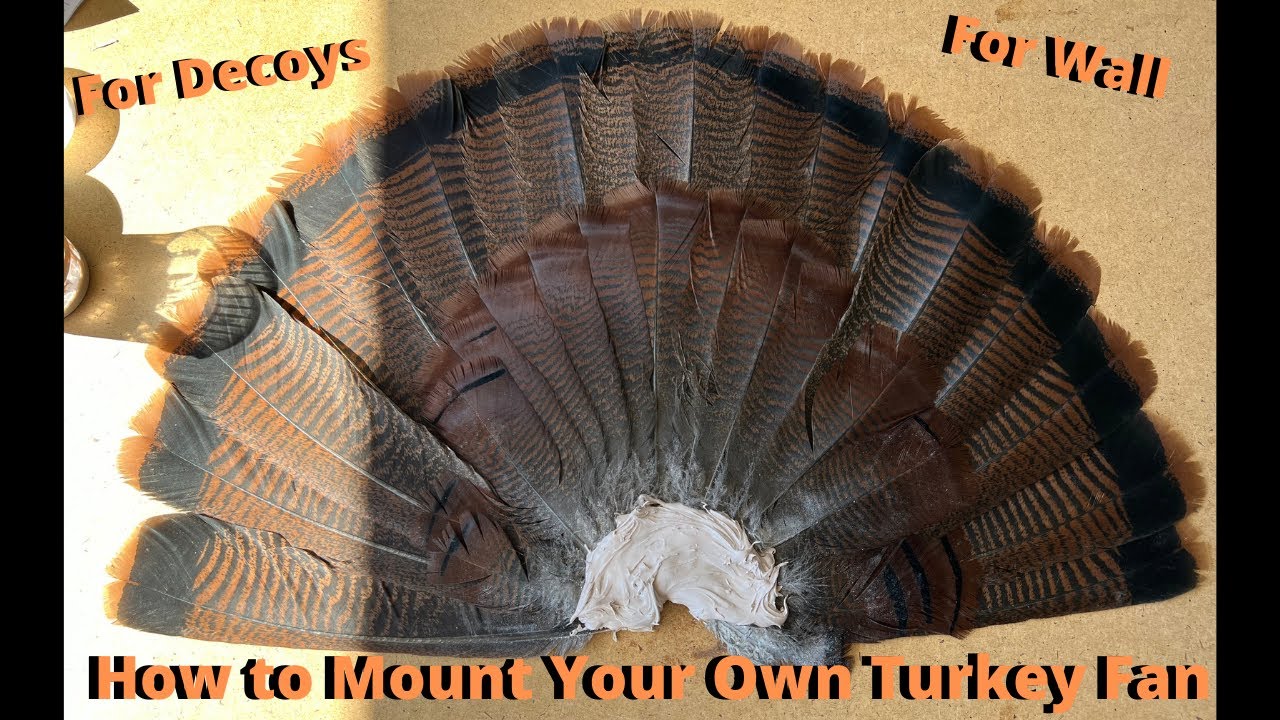
- Create a Mounting Base
- Mix auto body filler (Bondo) and apply over the feather bases to create a solid plaster seal.
- Allow to fully dry overnight. This gives a sturdy base to screw mount into wall.
- Install Fan in Mounting Kit
- Buy a turkey fan mounting kit or plaque at a hunting store or make your own.
- Screw through the plaster base into the mounting kit or wall-mounted plaque.
- Display Your Trophy!
- Hang proudly on the wall and reminisce about your successful hunt when you see it.
Additional Tips
-
Save the beard and spurs too! Add them to the plaque or make a creative display,
-
Damaged feathers? Repair with fly tying thread/floss and toothpick splints.
-
Add engraved nameplates, firearm shells, photos etc to personalize the plaque
-
Look for mounting kits with built-in spots to display spurs, beards and skulls.
-
For a more polished look, opt for a premade quality wood mounting plaque.
-
Stained wood plaques complement typical home decor the best. Stay simple.
-
Arrange multiple years’ fans on one large plaque for a wall-filling trophy display.
With the right preparation and materials, DIY turkey fans make for wonderful mementos from your hunting outings. They require only basic skills yet create a beautiful and personal addition to your home decor. Not to mention you’ll impress your hunting buddies with your handcrafted trophy!
Follow these key steps – harvesting the fan, meticulously cleaning, preserving with borax powder, creating a mount base with Bondo, securing in a mounting kit, and proudly hanging on display. With a bit of time and effort, you’ll have a stunning turkey fan to commemorate your hunting success for years to come.
How To Mount A Turkey Fan * THE EASY WAY *
FAQ
How to make a turkey feather fan?
Do you put Borax or salt on a turkey fan?