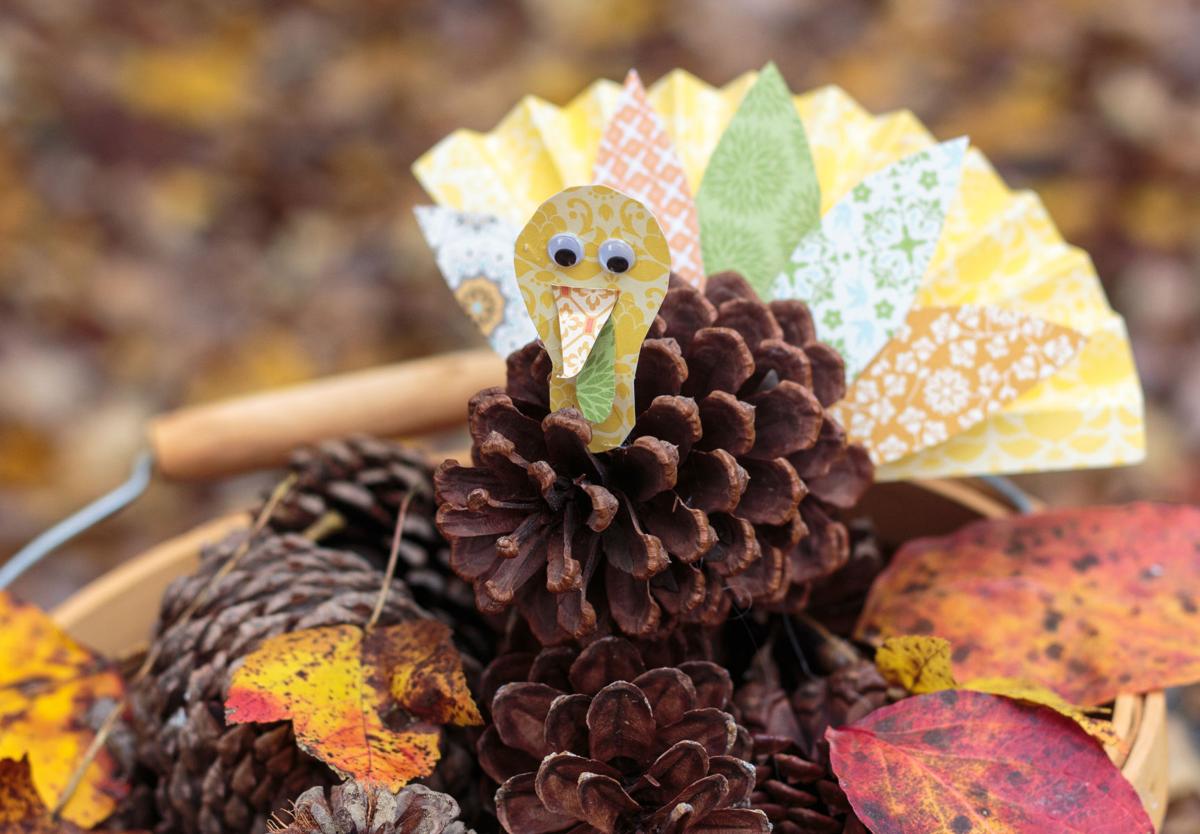
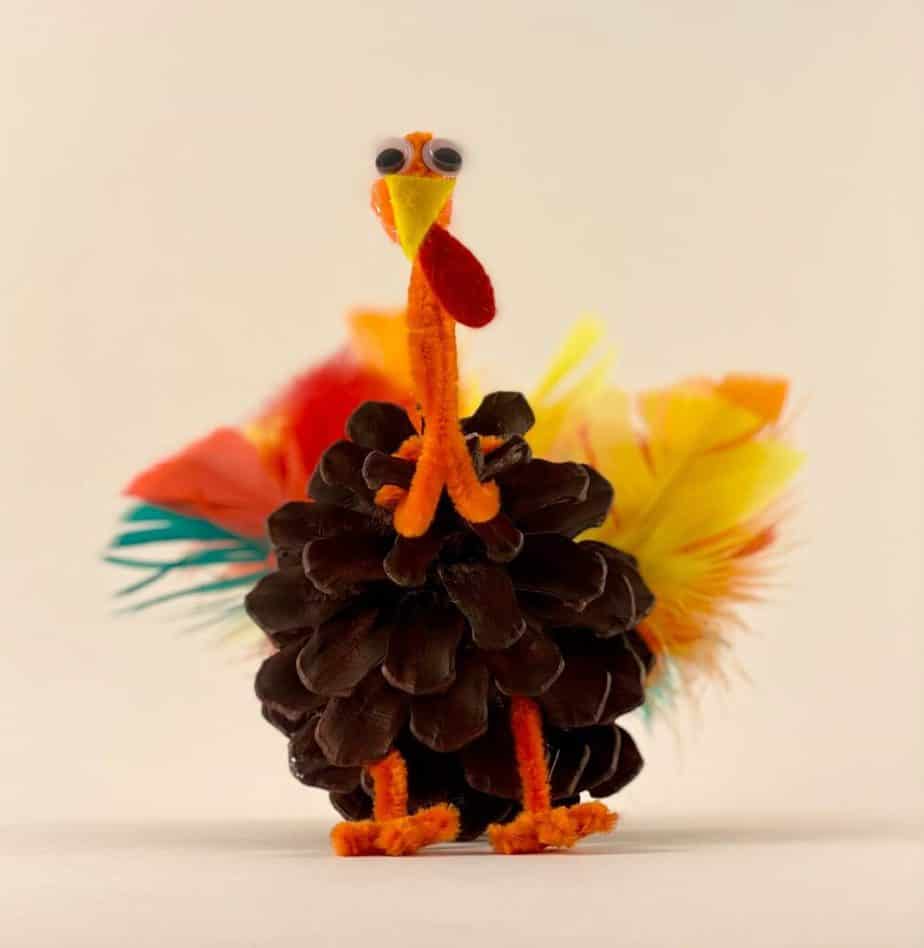
Take Natures best craft supply and turn it into a Thanksgiving craft with this fun and easy Pine Cone Turkey. The kids will just love making this feathered Turkey. Gobble, Gobble!
I don’t know about you, but I am a Pine.Cone.Fanatic. With the Holidays fast approaching, now it’s there time to shine, and this Pine Cone Turkey is the perfect kids craft to kick off the Pine Cone Crafting season! But who am I kidding, it’s always Pine Cone Crafting season in this house, so make sure to check out all of our other fun Pine Cone crafts.
We went a little Turkey Crafting Crazy now that Halloween is over and came up with a Clothespin Turkey and cute Toilet Paper Roll Turkey windsock too! *Tutorials coming soon
The kiddos will love sticking the feathers into the Turkey’s Pine Cone “Butt”, they’re just such a fun supply to craft with. Just watch out if you have a pet cat! Our cat, Melo, was going #CatCrazy! He was frantically hopping from the table to the floor, trying to get his paws on any feather that he could. Needless to say, it made for an extra fun Pine Cone Turkey crafting sesh!
If you craft with pine cones (collected from nature) as much as we do, than I don’t have to tell you that you MUST clean and prepare them first before crafting. But if you’re new to Mother Natures little craft supply, than make sure you read this post first, so that your Pine Cones are clean and ready, and you’ve baked all the bugs out.
Now that your Pine Cones are cleaned and prepared, let’s turn it into a Thanksgiving Turkey!
This post may contain affiliate links for your convenience (which means if you make a purchase after clicking a link I will earn a small commission but it won’t cost you a cent more!)
Making a pine cone turkey is a classic Thanksgiving craft that is fun for kids and adults. With just a few simple materials like pinecones pipe cleaners and construction paper, you can create a beautiful handmade turkey decoration for your home.
In this easy tutorial, you’ll learn step-by-step how to make an adorable pine cone turkey craft. It also includes tips and tricks for customizing your pinecone turkey. Follow along and you’ll have a cute turkey craft to display for Thanksgiving in no time!
What You’ll Need
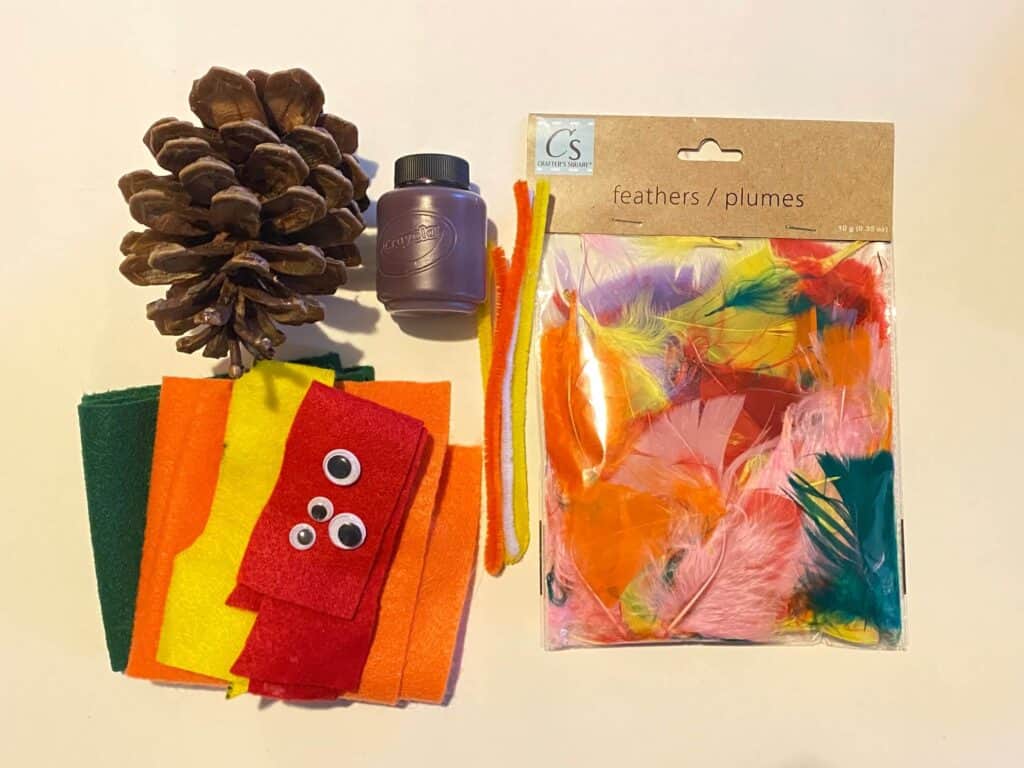
Here are the supplies you’ll need to make a pinecone turkey craft:
- Pinecones – 2-4 inches tall work best
- Acrylic or tempera paint – red, yellow, orange
- Pipe cleaners – red, orange, black
- Construction paper – yellow, red, brown
- Googly eyes
- Strong glue (hot glue gun or craft glue)
- Scissors
- Paint brush
Step-by-Step Instructions
Follow these simple steps to make your pine cone turkey
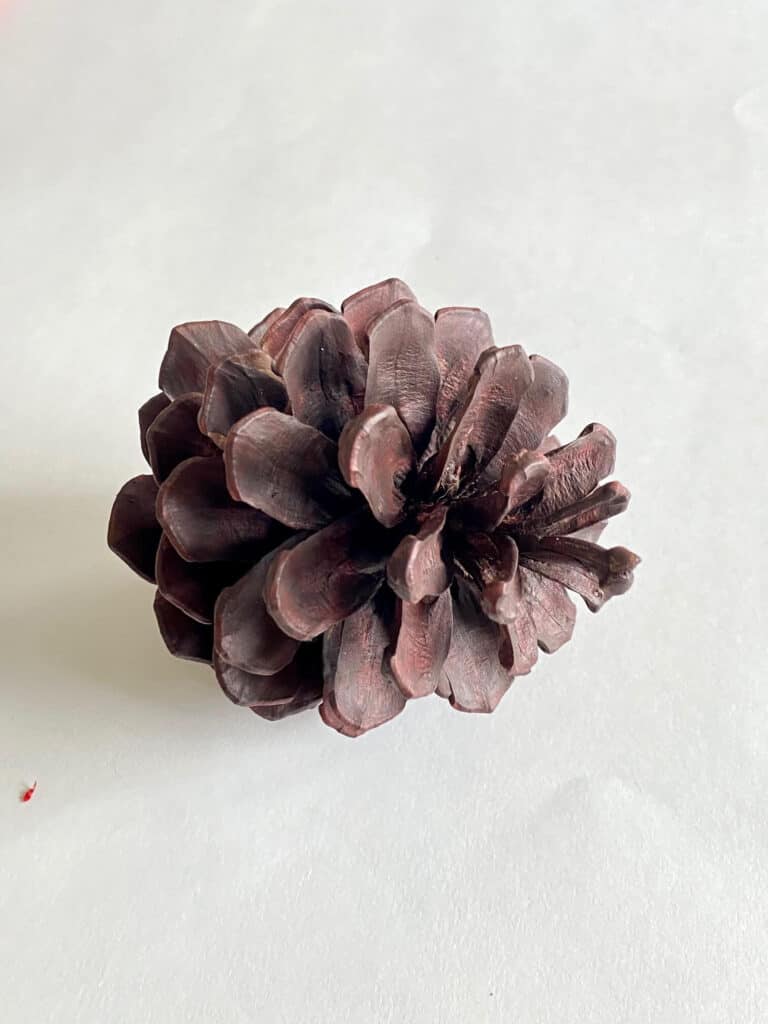
Paint the Pinecone
-
Paint your pinecone using fall colors like red, orange, and yellow. Make sure to leave some brown showing through for a natural look.
-
Let the painted pinecone fully dry before moving to the next step.
Make the Head
-
Take an orange pipe cleaner and tightly roll one end into a spiral shape. This will be the turkey’s head.
-
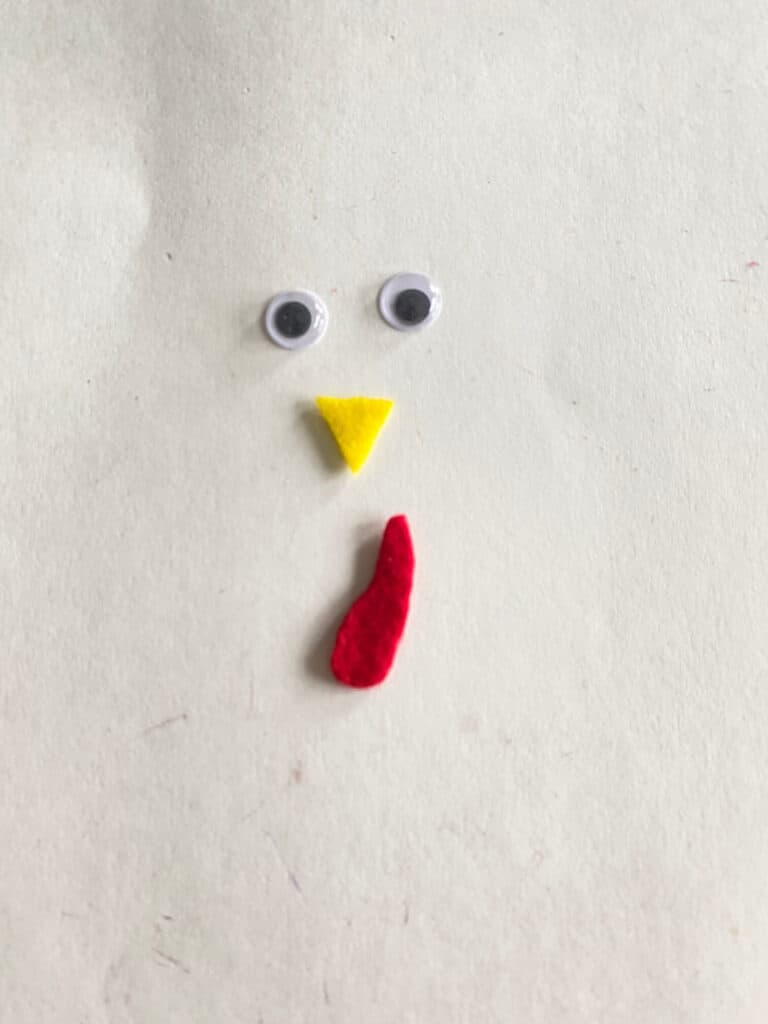
Cut a small yellow triangle for the beak and a red squiggly strip for the wattle.
-
Glue on the eyes, beak, and wattle using hot glue or craft glue.
Make the Legs
-
Take a second pipe cleaner and fold into a zigzag shape. Make two bends close together for the feet.
-
Bend the feet upwards and spread apart the ends to form the legs.
Attach the Head and Legs
-
Glue the legs to the bottom of the pinecone. Then glue the head to the top.
-
Let dry fully before displaying your completed pine cone turkey!
Customizing Your Pine Cone Turkey
Here are some ideas for customizing your pine cone turkey craft:
-
Use real feathers on the back instead of painted pinecone tips
-
Add googly eyes with lashes for a feminine turkey
-
Use colored paper to cut out turkey wings to attach
-
Write what you’re thankful for on paper cutout feathers
-
Use a small styrofoam ball instead of a pipe cleaner for the head
-
Glue on die cut construction paper feet instead of pipe cleaner legs
-
Spray paint your pine cone first for bolder, uniform color
-
Glue the pine cone turkey onto a paper plate and add paper feet to make a turkey float
-
Attach a magnet to the back to display your turkey on the fridge
Helpful Tips and FAQs
Follow these tips to make your pine cone turkey craft turn out perfect:
-
Choose a pinecone that is dry, intact, and 2-4 inches tall. Larger pinecones work best.
-
Paint just the tips of the pinecone in fall colors to retain a natural look.
-
Apply a second coat of acrylic paint if needed for vibrant colors.
-
Roll the pipe cleaner head tight and compact for stability.
-
Use strong glue like hot glue or craft glue to keep the pieces together.
-
Display your pine cone turkey on a table or mantel as a cute Thanksgiving decoration!
Where can I find pinecones to use?
Check your backyard or go on a nature walk to collect pinecones. You can also purchase real or artificial pinecones at craft stores if needed.
What type of paint works best?
Acrylic and tempera paints work well for painting pine cones. Avoid watery paints that will soak and damage the pine cone.
How long does the paint need to dry?
Allow the painted pinecone to dry for at least 1 hour. Let it dry overnight if possible for the most durable finish.
What glue is the strongest to use?
Hot glue or thick craft glue work best to keep the pipe cleaner pieces secured to the pinecone. White school glue can also work but may take longer to set.
Displaying Your Turkey Craft
Your pine cone turkey makes a perfect Thanksgiving decoration. Here are some ways to display your handmade turkey:
-
On the Thanksgiving dinner table
-
Arranged in a bowl, vase, or basket
-
Lined up on a mantle or bookshelf
-
On an entryway table or console
-
Along the stairs banister
-
Clustered in the center of the dining table
-
Perched on plates around the table
Get in the Thanksgiving spirit with this simple kids craft or home decor project. Follow the step-by-step tutorial for how to make a cute DIY pine cone turkey with minimal supplies needed. What fall decor will you craft next?
Supplies Needed to Make a Pine Cone Turkey for Thanksgiving
How to make a Thanksgiving Turkey out of Pine Cone
Follow the below easy steps to turn your Pine Cone into an adorable Turkey with feathers for Thanksgiving!
Before you get started crafting your Pine Cone Turkey, make sure you clean and prepare them first if you collected them from nature. If you have store bought pine cones, you can skip this step.
First, paint the pine cone all brown and allow to dry completely. You could totally skip this step since a pine cone is technically already brown. My kiddos love to paint so we decided to paint it anyway!
Cut a yellow triangle out of felt to make a beak, and cut a red oblong piece out of felt to make the Snood (did you know it was called that?!)
Glue some feathers in the back (large/wider) part of the pine cone. We just kind of stuck them down into the crevices, until it looked nice and full. Some of the feathers may have even stayed put without the glue, but I’d use it just in case anyway.
Take an orange pipe cleaner, and fold it in half. Secure one end to the front (smaller/thinner) part of the pine cone by twisting it around one of the scales of the pine cone that is sticking out the top. Bend it into the shape of a Turkey neck with a little “hook” on the end where the Turkey’s head would be.
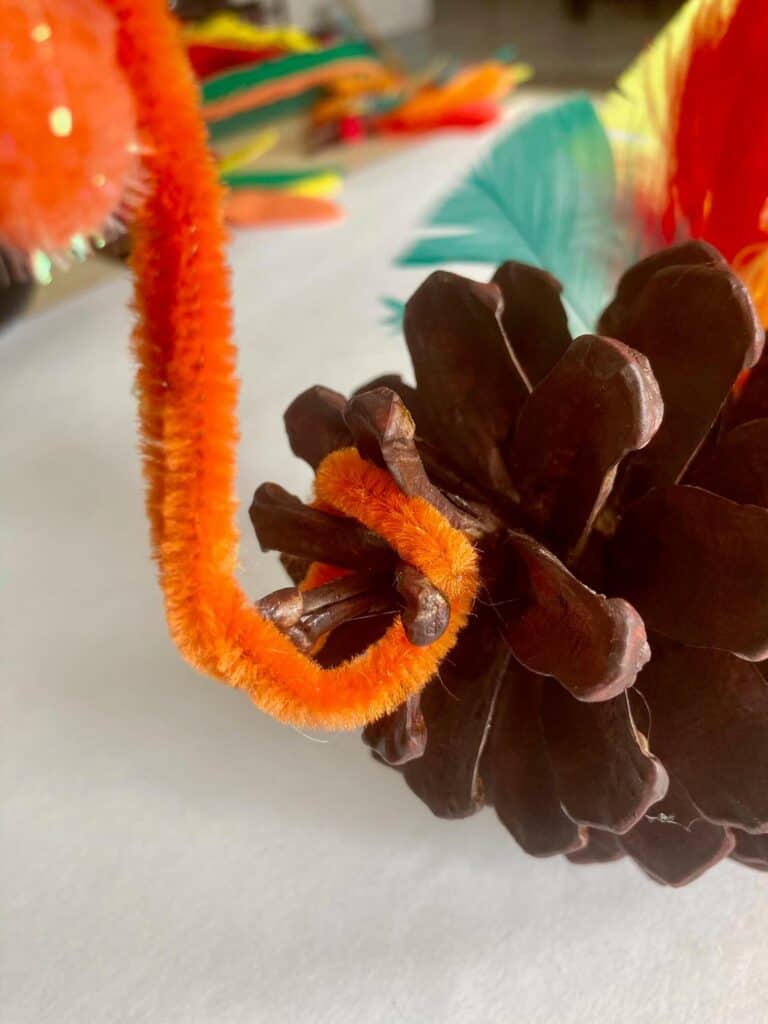
Glue a small orange pom pom under the “hooked” end of the pipe cleaner.
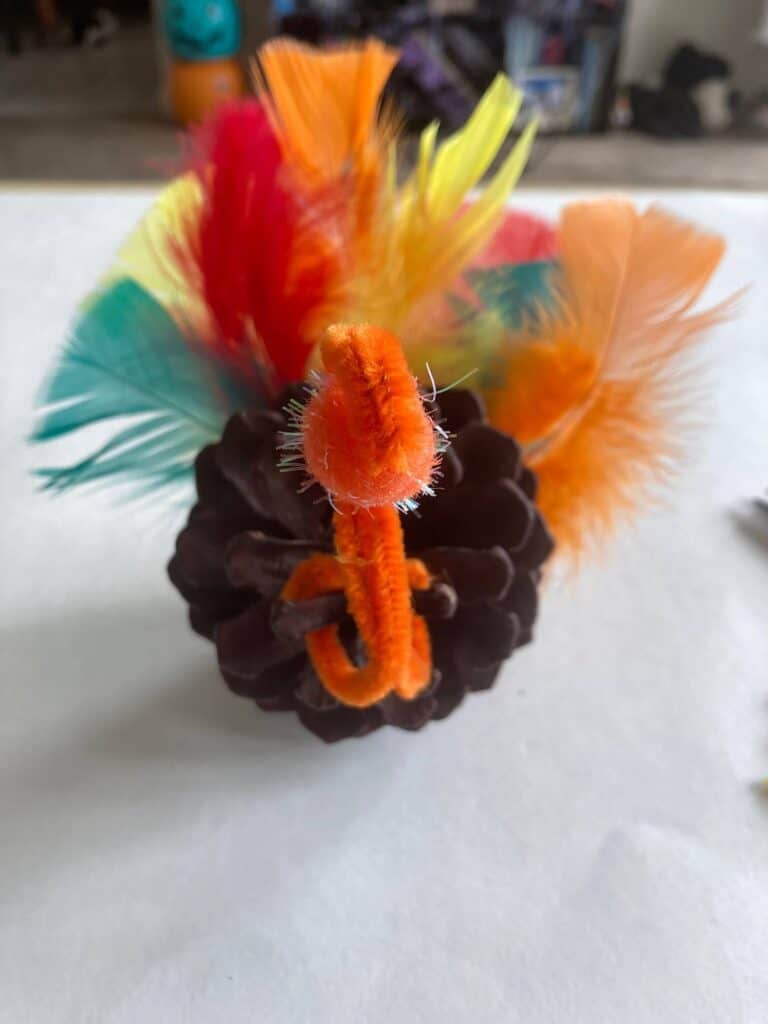
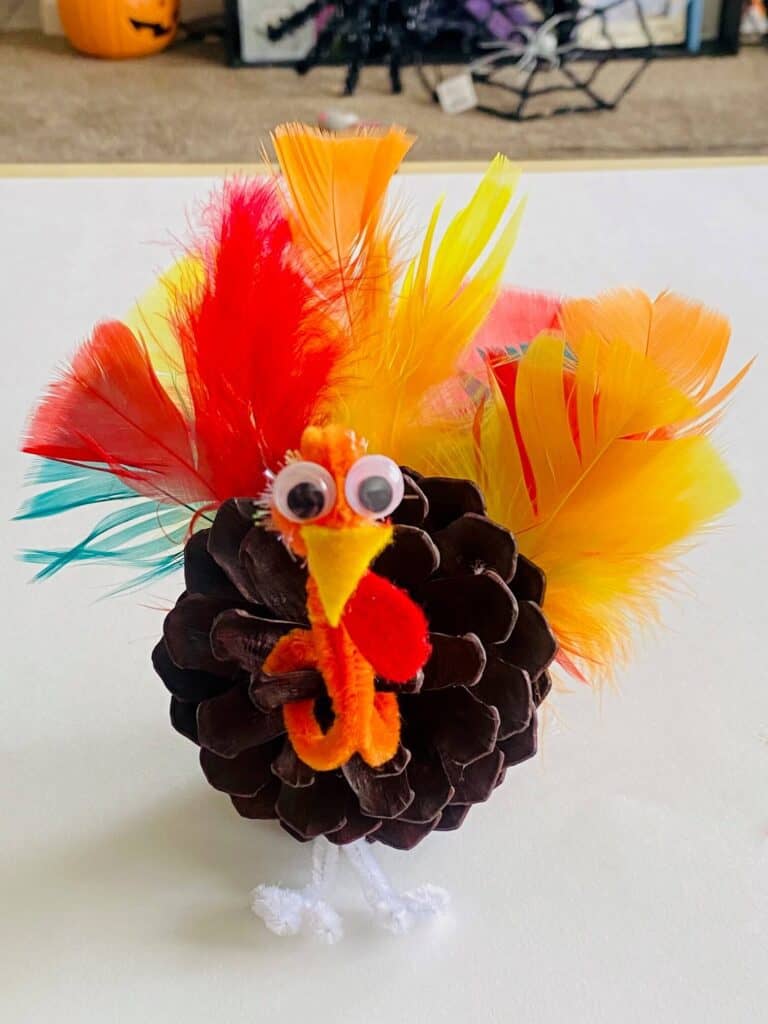
Glue on the googly eyes, yellow beak, and red snood to make the Turkey’s face.
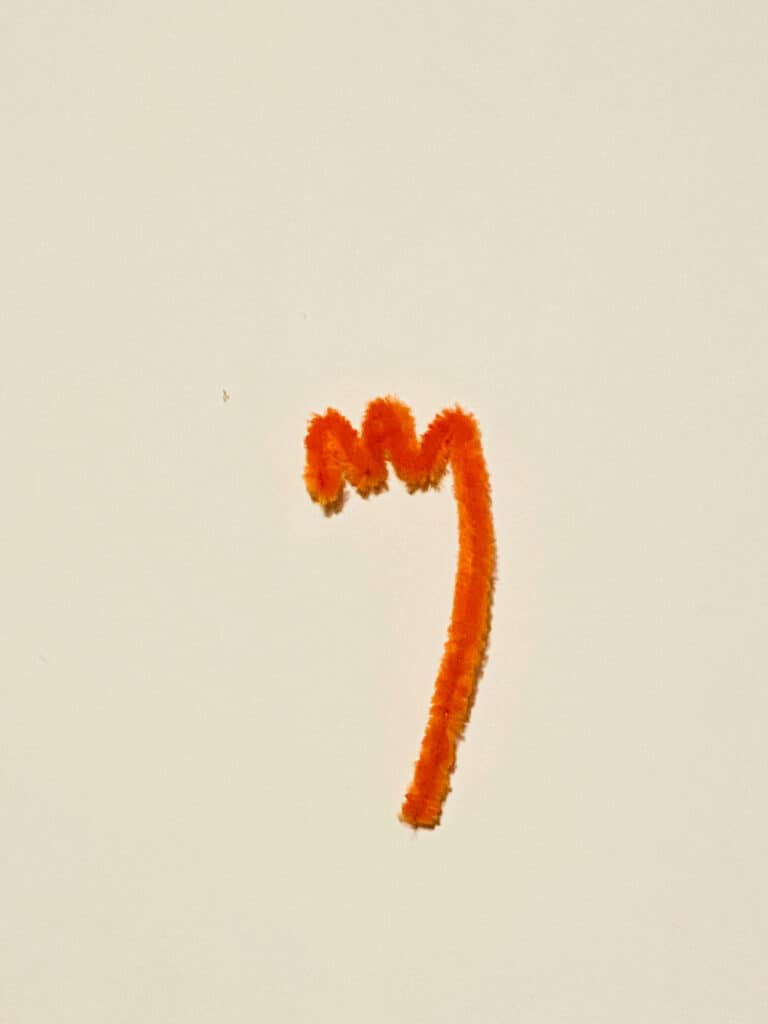
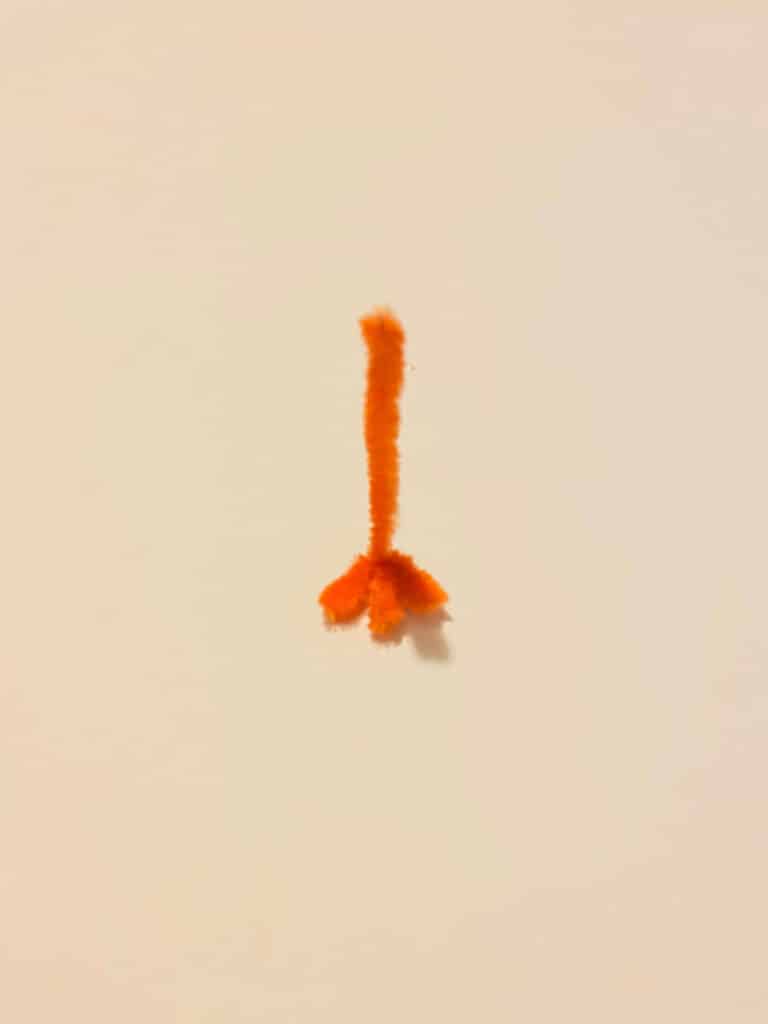
Next, cut an orange pipe cleaner in half. Take one of the halves and bend the end into a zig zag shape to look like the Turkeys claw.
Glue the Turkey legs to the underside of the Pine Cone Turkeys belly.
How adorable is this Pine Cone Turkey? This is such a fun and simple craft you can do with the kiddos in preparation for Thanksgiving which is just around the corner.
Make sure to grab our free craft project planner so you can plan out all your upcoming Holiday project ideas! Download the planner below.

